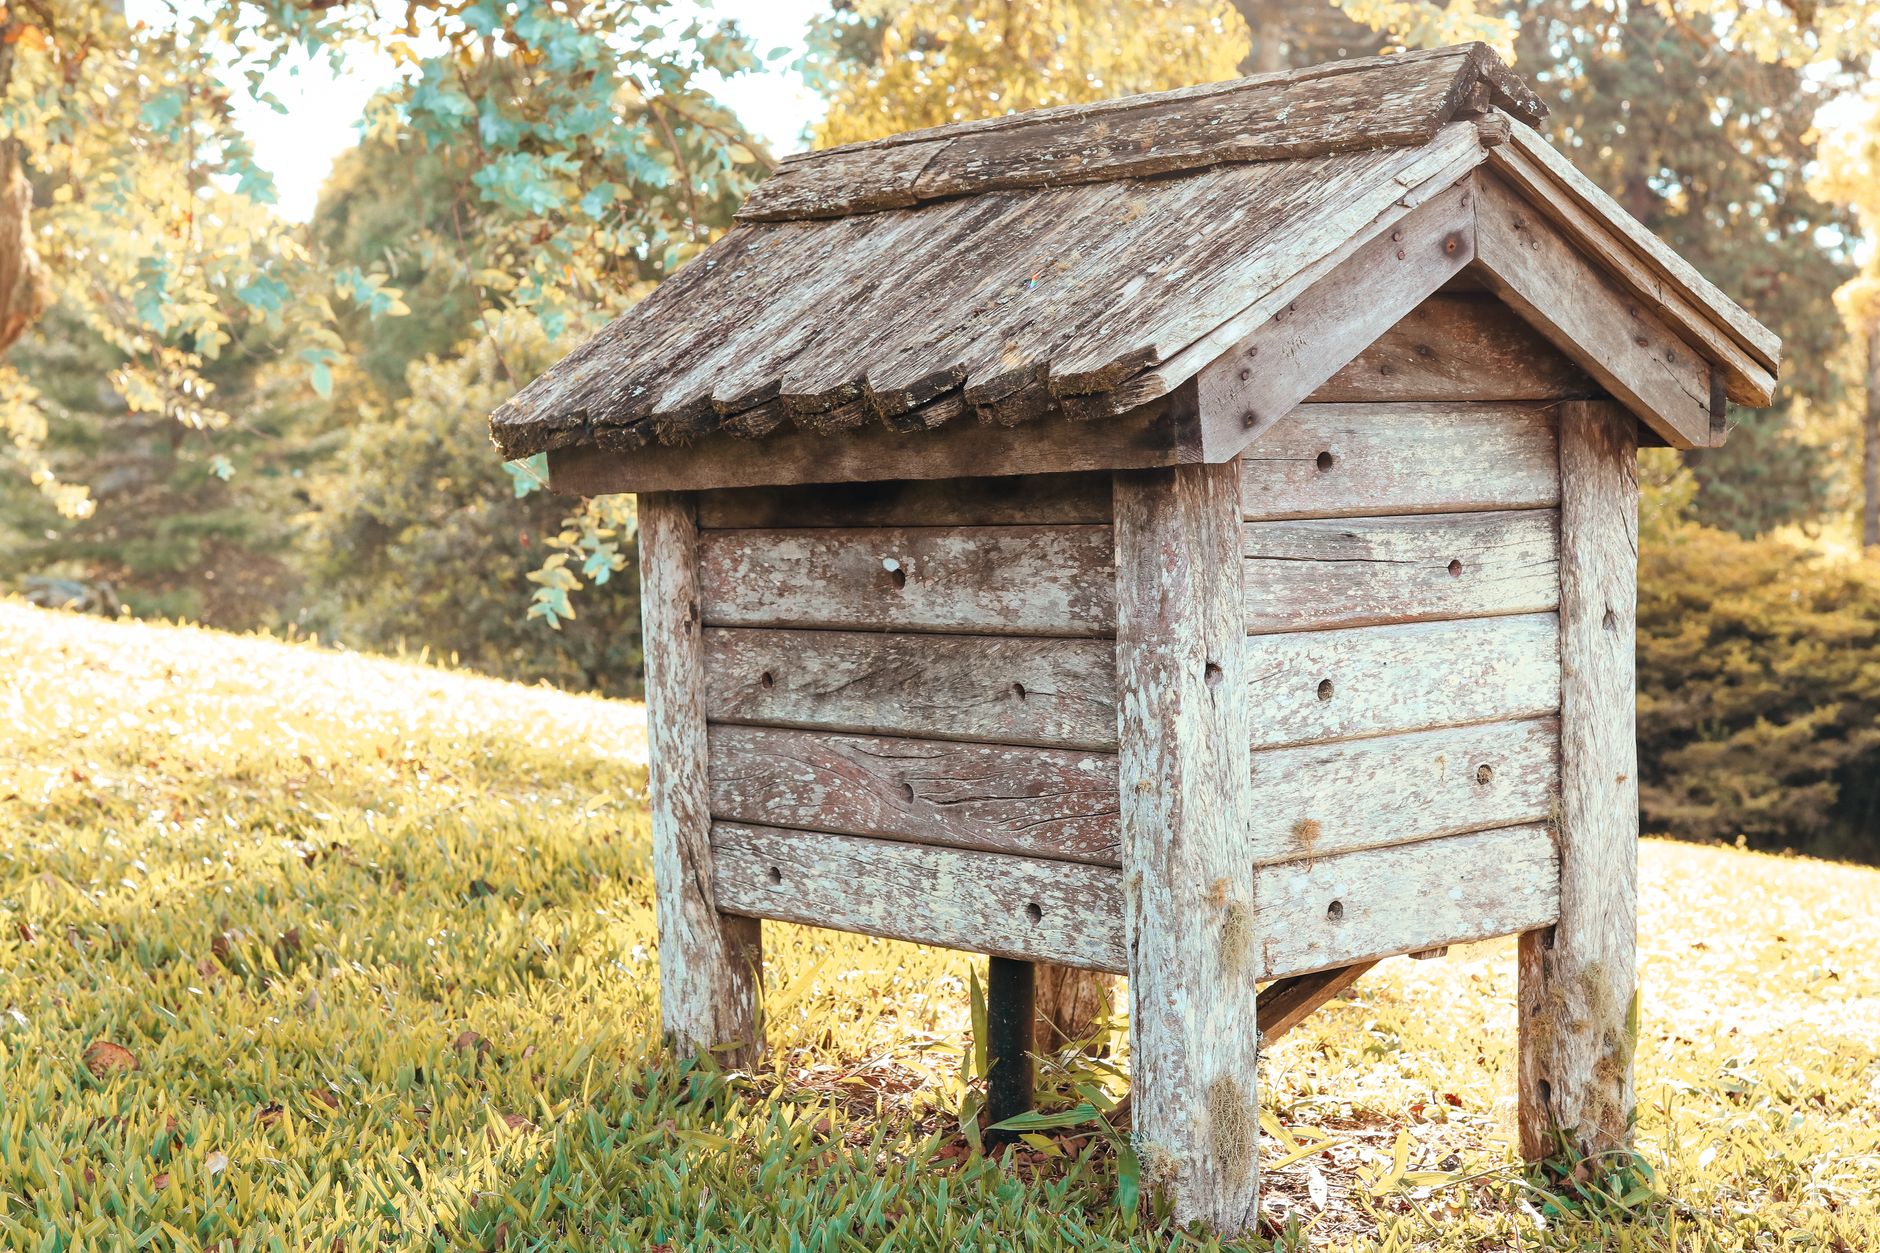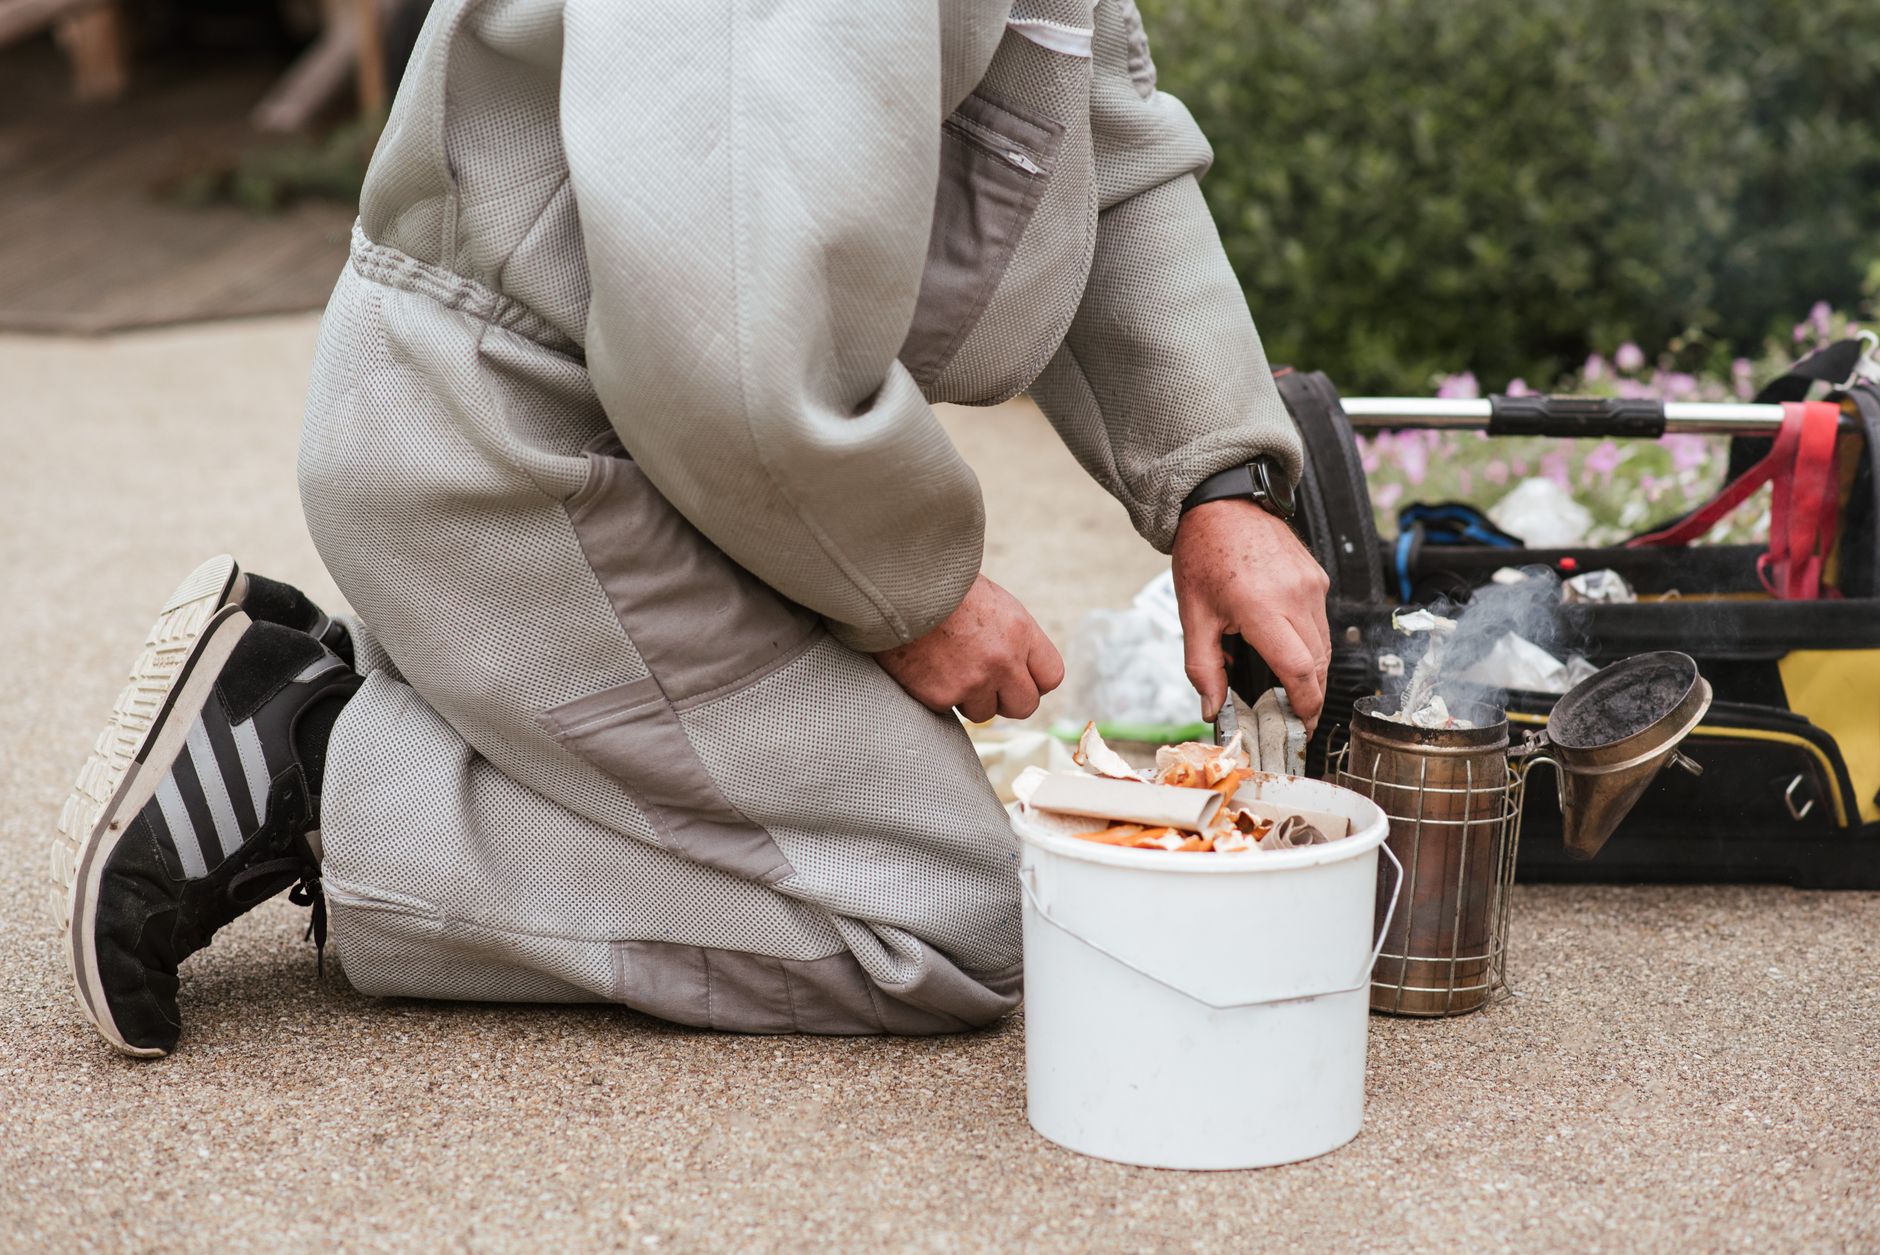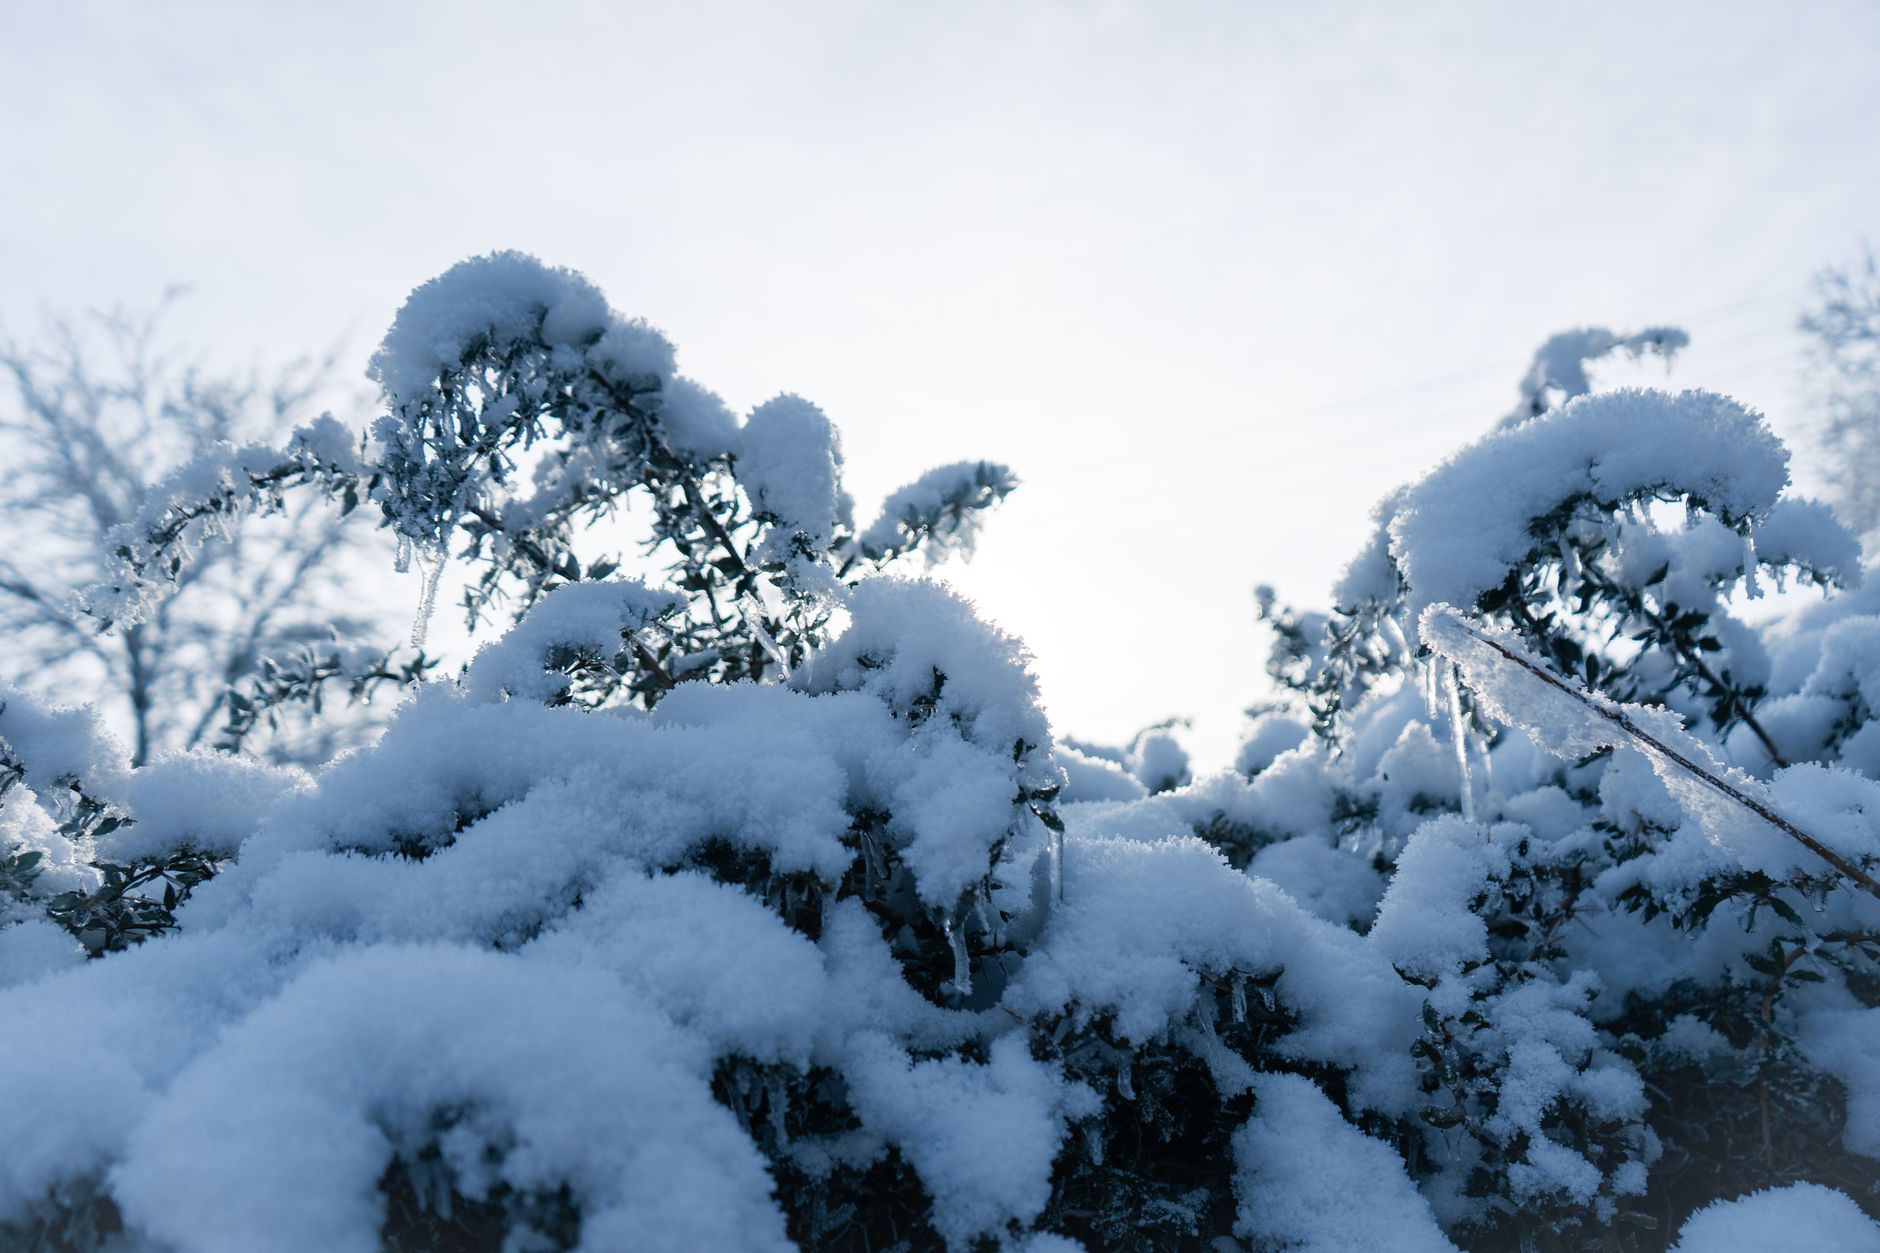
Cold weather does not kill most healthy honey bee colonies. Starvation, moisture, and varroa mites do. The American Beekeeping Federation notes that winter losses often spike when colonies enter fall with high mite loads and light honey stores. In the 2022-2023 season, U.S. beekeepers reported losing roughly 37 percent of managed colonies, and many of those losses traced back to poor fall preparation. Winterizing is not one heroic act. It is a sequence of small checks and upgrades you make before the first hard freeze. Start with health, then food, then moisture, then insulation.
The number one cause of winter colony death is varroa, not low temperature. A colony can survive minus 20 degrees if it is healthy, dry, and fed. But a colony with 5 mites per 100 bees in fall is already in trouble. That is why the first winterization step is always disease and mite management. You can learn the signs in common bee diseases and pests guide and then follow a clear varroa mite treatment guide before it is too late.
The second biggest killer is running out of food. A full-size colony in a cold region can burn through 60 to 80 pounds of honey between November and March. That is a specific number worth memorizing. If you harvested late or left too little honey, you must supplement early. Check how much honey one hive produces to understand realistic yields in your area. Weak colonies are also hard to overwinter. If you are not sure you have enough bees, review buying bees guide: packages, nucs, or splits before fall arrives.
Moisture kills more winter bees than cold. Bees generate heat, and that heat creates condensation on the inner cover. Cold water dripping on a cluster is fatal. Your winter setup must let moisture escape upward, not rain back down. This guide walks through each step in order, from mite treatment to spring. Gather your supplies first: hive tool, smoker, entrance reducer, moisture board or quilt box, candy board or fondant, and a hive wrap if your region stays below freezing for weeks.
What You’ll Need
- Hive tool
- Smoker
- Entrance reducer or 1/4-inch hardware cloth
- Moisture board or quilt box
- Candy board or bee fondant
- Hive wrap for cold zones
- Oxalic acid vaporizer or approved varroa treatment
- Hive scale or luggage scale for hefting
How Do You Winterize Beehives?
- Assess colony health and knock down varroa mites
Start with a full fall inspection on a mild, sunny day when the temperature is above 55°F. Remove the outer cover and inner cover, then work through the brood boxes. You are looking for a laying queen, a solid brood pattern, and signs of disease. Pay particular attention to varroa mites. If the colony has high mite loads, winter bees will emerge weakened and the colony will likely collapse by February. The varroa mite treatment guide and common bee diseases and pests guide explain how to identify these issues early.
Do an alcohol wash or powdered sugar roll using about 300 adult bees taken from a brood frame. Count the mites that fall. A threshold of 3 mites per 100 bees means you should treat. The Honey Bee Health Coalition recommends testing every colony because mite loads vary even within the same apiary. Do not skip this step because the colony looks busy at the entrance.
Choose a treatment that fits the season and your honey supers. If there is little brood present, an oxalic acid vaporizer is a fast and effective option. If the colony still has capped brood, you may need a slower-release formic acid product. Always remove honey supers before any chemical treatment and follow the label exactly.
- Feed heavy syrup while daytime temps stay above 50°F
Once mite treatments are done, shift your focus to food. In many cold climates, the last nectar flow ends in August or September. Any honey stored after that is what the bees will eat until spring. Inspect the outer frames first. A full-size colony in a cold region needs 60 to 80 pounds of honey. If the frames are light, you must feed early.
Mix a heavy syrup at a ratio of 2 parts sugar to 1 part water. Use a top feeder, frame feeder, or hive-top pail. Feeding in early fall gives the bees time to ripen the syrup, cap it, and position it near the cluster. A strong colony can take down 1 to 2 gallons of heavy syrup per week. Keep feeding until the daytime temperature stays below 50°F or the bees stop taking it.
If natural pollen is scarce, add a small pollen patty or substitute. Pollen helps the colony raise the fat winter bees that will survive for months. Do not add too much protein in late fall, because it can stimulate brood when you want the colony to slow down. Stop liquid feeding when nights freeze, then switch to solid feed later if needed.
- Reduce entrances and block mice
The next step is to shrink the front door. A wide-open entrance lets in cold drafts, robbing bees, and mice. Reduce the entrance to the smallest opening on your entrance reducer. This does not mean sealing it completely. The bees still need a way out for cleansing flights on warm days. A reduced entrance also helps a smaller winter cluster defend the hive from yellowjackets.
Rodents are a serious winter threat. A mouse can squeeze through a gap of about 1/4 inch and will build a nest inside, chew comb, and urinate on frames. Install a metal entrance guard or a piece of 1/4-inch hardware cloth across the reduced entrance. Check that the bottom board has no gaps or rotted corners. Many beekeepers add this guard after the first light frost.
If you use a screened bottom board, decide whether to close it. In very cold zones, closing the screened bottom can reduce drafts. In milder or humid zones, leaving it open can help ventilation. The choice depends on your local climate. Your beekeeping tools and accessories guide will help you choose the right entrance hardware.
- Add upper ventilation with a moisture quilt or insulated inner cover
Moisture, not cold, is the hidden killer of winter bees. Bees consume honey and produce water vapor. When warm air rises and hits a cold outer cover, it condenses and drips back down on the cluster. Wet bees cannot regulate their temperature and die quickly. The solution is to let the moisture escape upward through a small upper entrance, while absorbing any remaining moisture above the cluster.
A moisture quilt or quilt box is one of the best cold-climate tools. It is a shallow box filled with wood shavings or burlap placed above the inner cover. As warm air rises, the shavings absorb condensation and release it slowly through the upper entrance. You can also use a simple insulated inner cover with a ventilation notch. The goal is not a drafty hive, but a steady upward path for wet air to leave.
Do not overdo upper ventilation. A large upper entrance in a very cold zone can chill the cluster and force bees to burn more food. A small notch or crack is usually enough. Keep the lower entrance reduced but open. This combination, small lower entrance plus upper vent, is the classic winter setup used by many northern beekeepers. It works far better than sealing the hive tight.
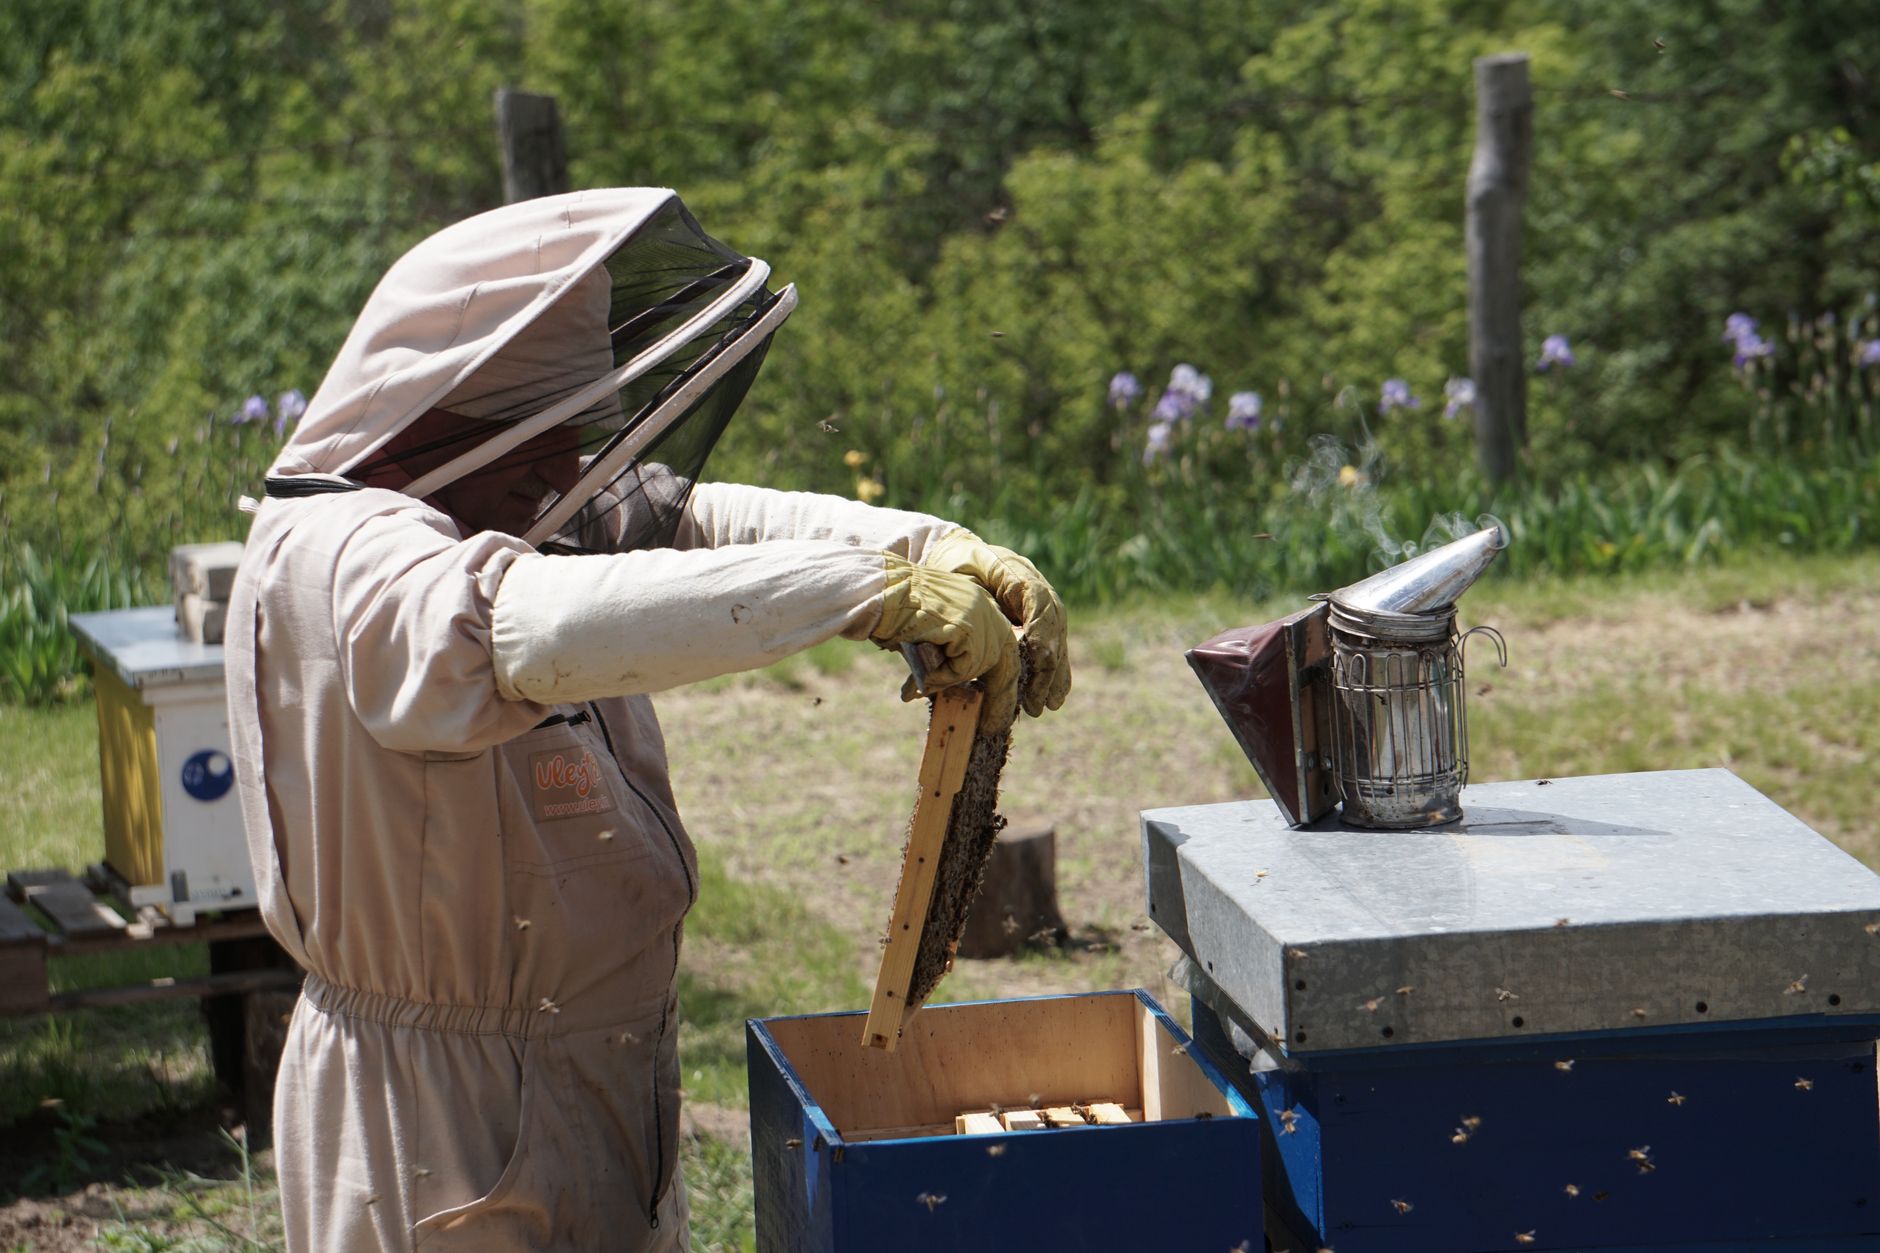
- Check stores and add winter feed on top
After ventilation is set, check the food situation one more time. Heft the back of the hive. A double deep colony in a cold region should feel very heavy, often 100 to 130 pounds. If it feels light, you need to add winter feed. A colony that burns through its stores too early will starve even when the weather is mild in March.
There are several ways to add emergency winter food. A candy board is a shallow rim filled with hardened sugar candy that sits directly above the top frames. Bee fondant is another clean option. You can also use the dry sugar method by spreading newspaper across the top bars, misting it lightly, and pouring granulated sugar over it. Place the feed directly above the cluster so the bees do not have to travel far.
Remember the numbers: a strong colony needs at least 60 to 80 pounds of stores. If you are low, add feed now before cold weather. Keep how much honey one hive produces in mind when planning next year’s harvest. You can also check bee fondant on Amazon for a ready-to-use block.
- Wrap hives only when cold is sustained
Wrapping a hive is not always necessary, but it helps in zones 6 and colder where the temperature stays below freezing for weeks. A wrap reduces wind chill and helps the colony keep its cluster tight. You can use black tar paper, a commercial insulated hive wrap, or even a foam board with a weatherproof cover. Do not wrap too early. If a warm spell hits, you may trap heat and moisture inside.
When you wrap, leave the upper entrance and the reduced bottom entrance completely clear. Cover the sides of the hive body, but never block the ventilation points. A common mistake is to wrap over the inner cover or over the lower entrance. That traps condensation and causes the colony to suffocate or chill. The wrap should act like a windbreaker, not a plastic bag.
In milder climates, skip the wrap. A strong colony in a dry, well-ventilated hive can survive without insulation. The most important part of cold-weather prep is everything before wrapping. If you are unsure about your zone, contact your local extension service or check American Beekeeping Federation resources for regional advice. For a reliable product, check hive wrap on Amazon.
- Position hives for sun and wind protection
Where your hive sits matters as much as what is inside it. If possible, move hives before the first hard freeze to a spot with morning sun. A southeastern exposure warms the entrance earlier, which lets bees take cleansing flights and prevents the colony from staying cold all day. Avoid low areas where cold air and frost settle. The hive should be up off the ground on a stand or concrete blocks.
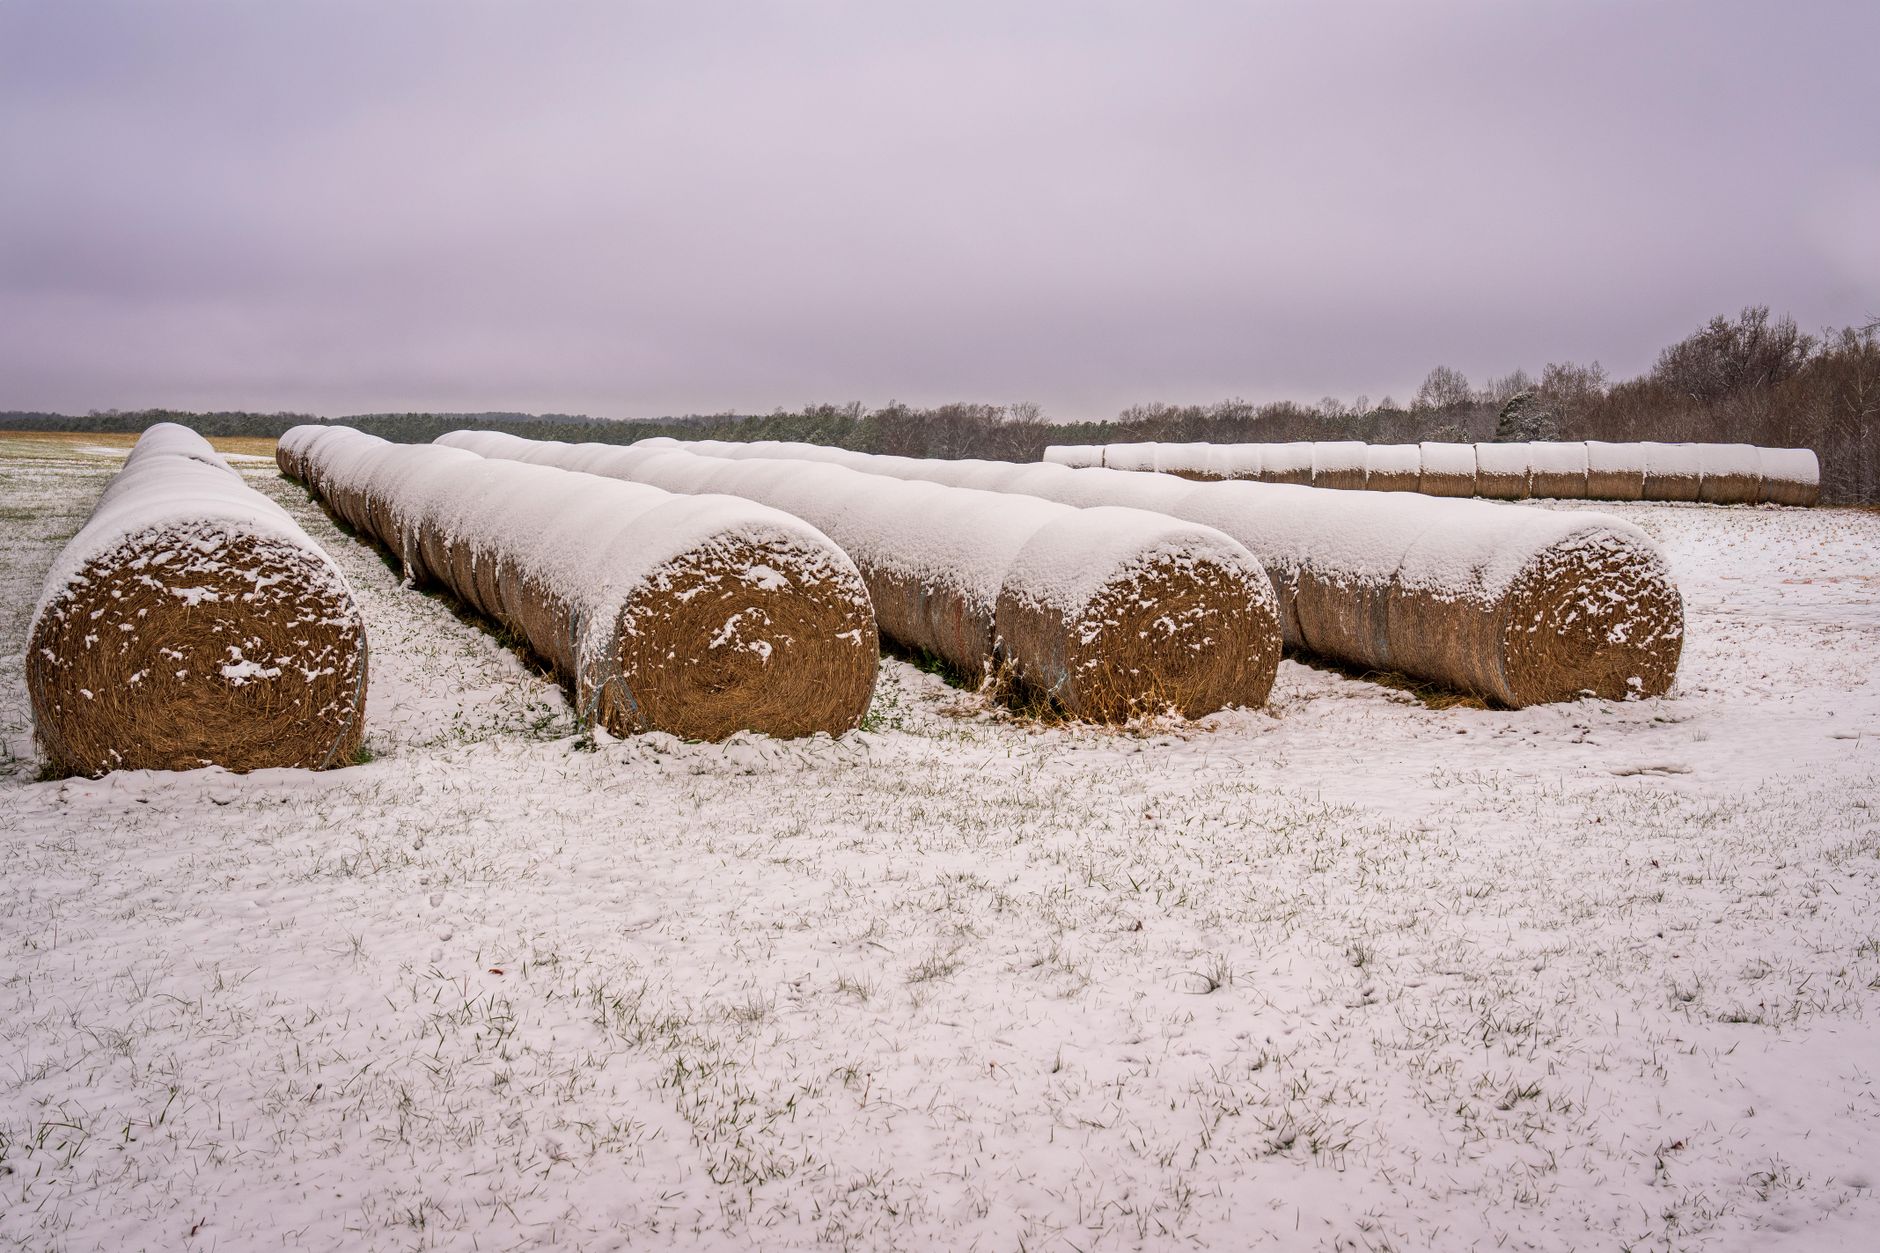
Wind can strip heat from a hive quickly. A windbreak that reduces wind speed by just 50 percent can make a measurable difference in food consumption. Use straw bales, a snow fence, or a row of shrubs placed on the windward side. Leave a few feet between the windbreak and the hive so snow does not drift against the entrance.
Tilt the hive slightly forward with a shim under the back. This lets any condensation or melting snow run out of the entrance instead of pooling on the bottom board. A wet bottom board chills bees and promotes mold. After positioning, consider a final check as described in how to do a hive inspection. Then leave the hive alone for the winter.
- Combine weak colonies and leave a final record
Before you close the hive for winter, evaluate colony strength. A colony needs enough bees to form a basketball-sized cluster. If a hive has fewer than five deep frames covered with bees, it is likely too weak to survive a cold winter on its own. Rather than watching it starve or freeze, combine it with a stronger colony using the newspaper method. The old queen can be removed, or you can let the colonies unite. Read how to split a beehive to understand the mechanics of combining stock.
Do your last full inspection on a day above 50°F. Check the queen, brood, and stores. Position the cluster near honey frames. Make sure the candy board or fondant is directly above the cluster. Do not dig through the colony if the temperature is below 40°F. Opening the hive in cold weather can break the cluster and kill bees that cannot return.
Write down everything: mite counts, treatment dates, frames of bees, pounds of stores, and any concerns. These records are gold in spring. You will know whether a colony died from mites, starvation, or moisture. That knowledge lets you adjust your winterizing plan next year and gives every colony a better chance.
Red Flags & Warnings
- 🚨 Don’t wait for frost to treat varroa mites. By then broodless period may be gone and mite loads will spike.
- 🚨 Never seal both entrances when installing moisture quilts or wraps. The hive still needs a small lower entrance and an upper vent.
- 🚨 Avoid feeding liquid syrup below 50°F. Bees cannot dry it and the hive will stay dangerously wet.
- 🚨 Do not winter a colony with fewer than five deep frames of bees. Combine weak stock with a stronger colony.
- 🚨 Don’t open hives below 40°F just to check. You can break the cluster and stress winter bees.
- 🚨 A heavy hive does not always mean adequate stores. Check frames before final wrap to confirm honey placement.
Frequently Asked Questions
When should I start winterizing my hive?
Start 6 to 8 weeks before the first hard frost. In cold zones that often means August for mite treatment, September for feeding, and October for wraps and entrance reduction. Use your local first frost date or extension service guidance.
How much honey does a colony need for winter?
A strong colony in a cold climate needs about 60 to 80 pounds of honey or equivalent stores from fall through spring. Heft the hive and if it feels light, add candy boards, fondant, or dry sugar.
Can bees survive winter in a single deep box?
Some beekeepers overwinter in a single deep successfully, but it is riskier in cold regions. The colony needs enough stores and a dense cluster. New beekeepers should use a double deep or deep plus medium for more buffer.
Should I wrap my beehive every year?
No. Wrapping helps in zones 6 and colder or where windchill is extreme for weeks. In mild climates, wrapping can trap moisture. Focus on ventilation and stores first, then wrap only if needed.
How do I know if my bees are still alive in winter?
On a sunny day above 40°F, watch the entrance for activity. You can also press an ear to the hive wall and listen for a low hum. Avoid opening the hive until a warm spring day.
Can I open the hive to feed in cold weather?
Only if absolutely necessary and when temperatures are above 40°F. Use solid feed placed directly on top bars, and keep the opening brief. It is better to add enough feed early in fall.
What Should You Remember?
- Timing is critical: Begin winter prep 6 to 8 weeks before the first hard frost.
- Mite control first: Treat varroa before fall bees emerge; more than 3 mites per 100 bees means act now.
- Stores must be adequate: Leave 60 to 80 pounds of honey or add fondant and candy boards.
- Moisture kills: Use upper ventilation and a quilt box to move condensation out.
- Insulation follows ventilation: Wrap only after entrances and moisture control are set.
- Weak colonies fail: Combine colonies under five frames of bees.
- Records matter: Document mite counts, weights, and feed for better spring decisions.
This article is for general information only and is not veterinary or legal advice. Beekeeping is regulated in most regions and involves live animals with their own health needs , always follow local regulations and best practices, and consult a qualified apiarist, extension service, or veterinarian for bee-health or disease concerns.