Many people assume honey bees need open farmland. That is not true. City hives often do well because urban neighborhoods offer diverse flowers, longer nectar flows, and less agricultural pesticide drift than rural monoculture areas. The American Beekeeping Federation points out that local rules and thoughtful hive placement matter more than whether you live in the country or the city. Before you order bees, learn the basic steps for how to start beekeeping with no experience. This will help you avoid common beginner mistakes.
A small backyard, sunny rooftop, or even a dedicated balcony can support one or two hives. The key is managing the flight path. Bees leave the entrance and head upward when they meet a fence or hedge. That keeps them above head level. You also need to provide water. If bees find a neighbor’s pool first, you may get complaints. Urban beekeeping is less about space and more about reducing conflict. A well-kept hive is rarely noticed by neighbors.
Cost also matters. A new hive, bees, protective gear, and basic tools often run $400 to $800 in the first year. You can read how much beekeeping costs for a detailed breakdown. Do not try to save money by skipping a smoker or veil. Stings are part of beekeeping, but good gear makes inspections calmer. Start small with one or two hives. You can expand after you prove to yourself and your neighbors that city bees can be quiet and productive.
This guide walks through the legal check, hive placement, bee selection, gear, installation, inspections, mite control, and harvest. Each step uses methods recommended by university extension programs and the United States Department of Agriculture Agricultural Research Service. You will also find links to detailed HiveMindGuide articles. By the end, you should know if urban beekeeping fits your space and how to start safely.
What You’ll Need
- Langstroth hive kit with frames and foundation
- Ventilated beekeeping jacket or full suit
- Hive tool and smoker
- Feeder for sugar syrup
- Varroa test kit or sugar roll supplies
- Water source with floating landing material
How Do You Keep Bees in a City or Small Backyard?
- Check local laws and talk to neighbors
Start with city and county rules. Many cities allow honey bees but require a permit, a registration fee, or a limit on the number of hives. Some municipalities set minimum setback distances from property lines. A few ban hives outright in certain zoning districts. Check your local municipal code before you spend any money. The American Beekeeping Federation has a state and local association directory that can point you to nearby beekeepers and local rules.
Also check HOA covenants or rental lease terms. Even if city law permits bees, a landlord can say no. If you rent, get written approval. Then talk to immediate neighbors. Explain that honey bees are generally docile when kept well. Offer to share a jar of honey later. A small hedge or fence can force bees to fly up and away from patios. Most complaints start from surprise, not from actual stings.
The best time to install bees is early spring. This gives the colony a full season to draw comb and store honey. Read when to start a beehive for your regional window. Starting in late summer or fall is risky. The colony may not build enough stores before winter. In cold regions, a September install often fails unless you feed heavily and insulate the hive.
Join a local beekeeping club at the same time. Members know the main nectar flows in your area. They can also tell you when to expect swarming or dearth periods. Many clubs offer mentors for new urban beekeepers. A mentor can help you spot queen problems early. This step may feel slow, but it prevents fines and angry neighbors later.
- Choose a hive style and a smart location
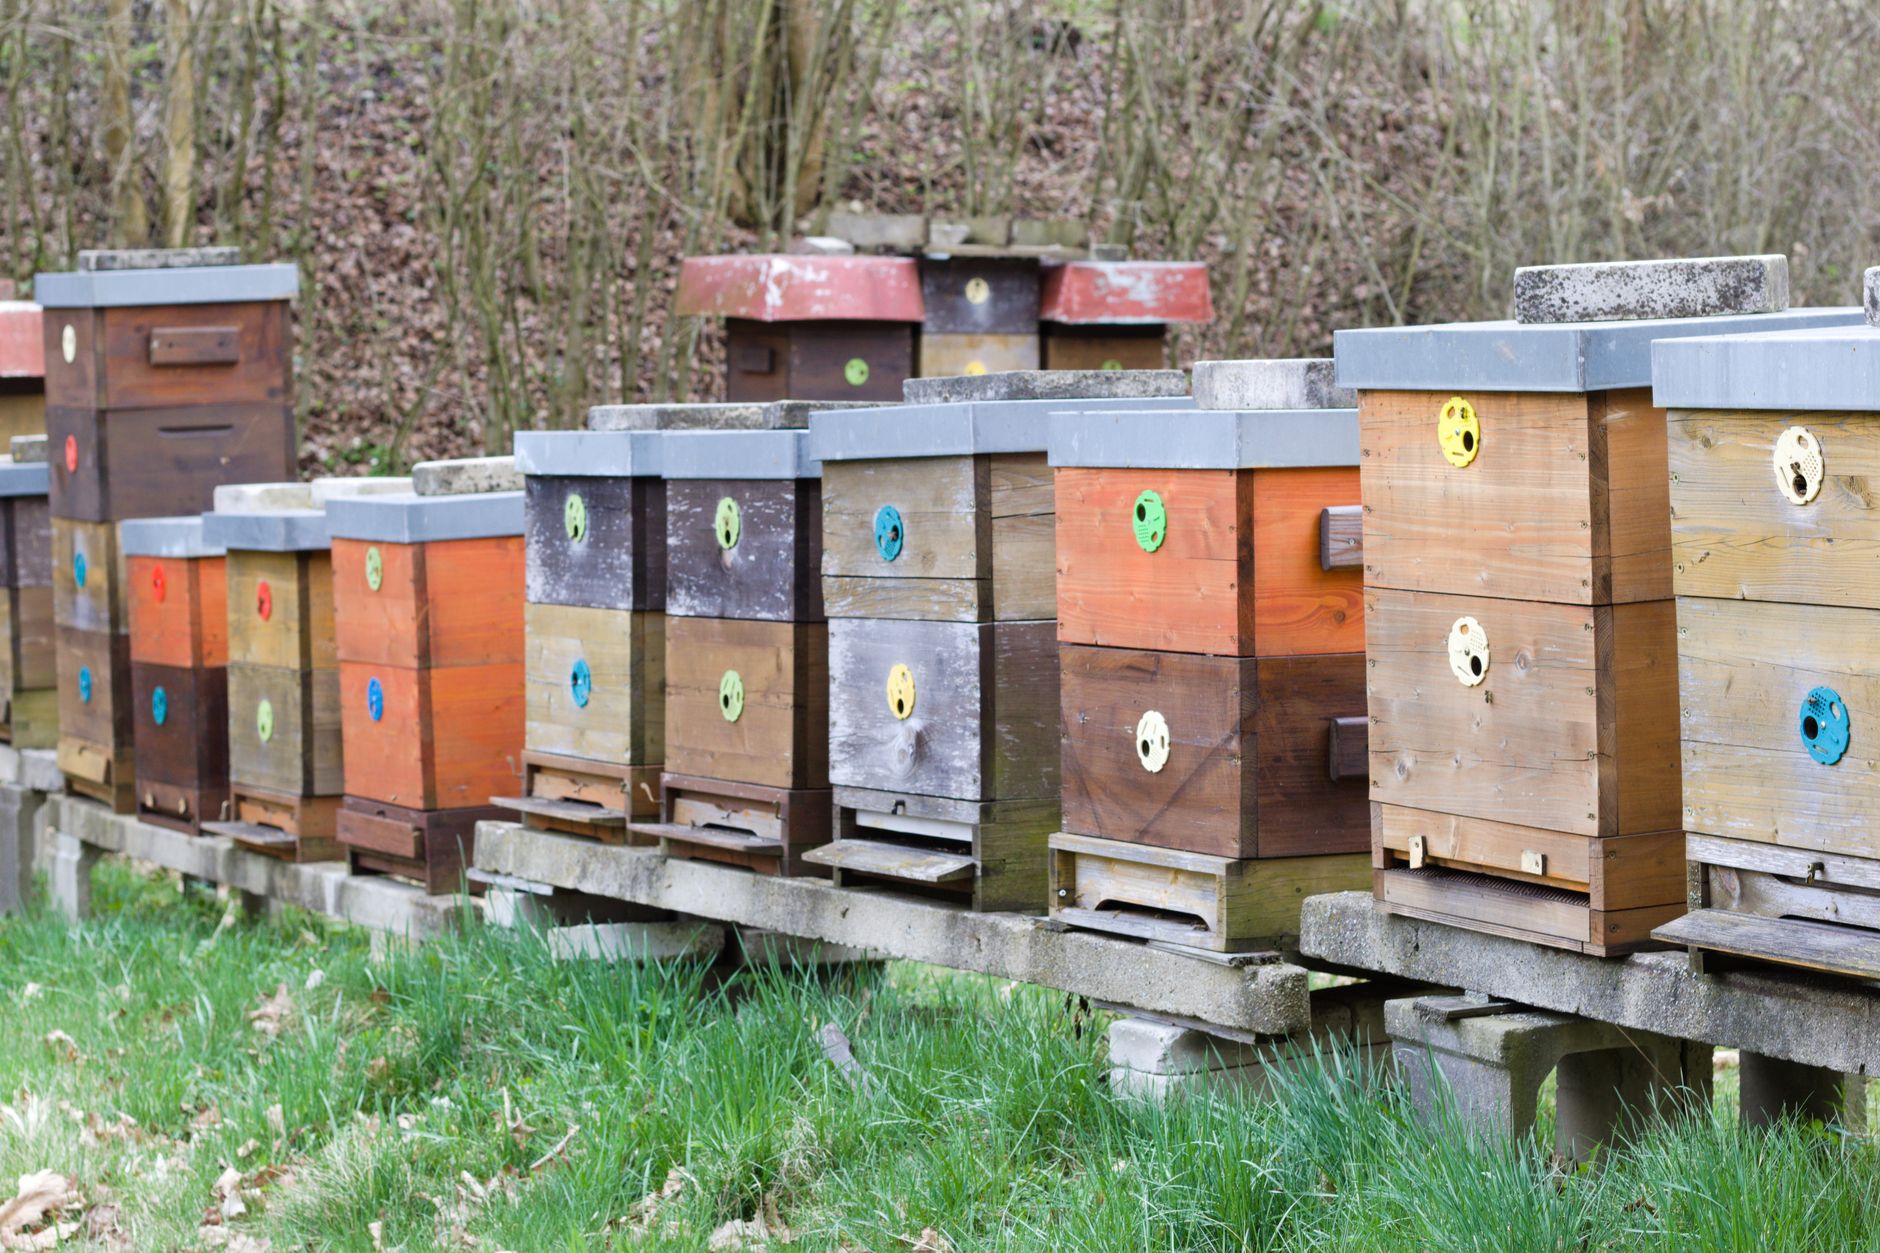
Langstroth hives are the most common choice for urban beekeeping. They use standard rectangular frames and are easy to inspect. Top bar hives require less lifting but produce less honey. Flow hives make extraction easier but still require regular inspections. Compare Langstroth vs Flow Hive vs Top Bar before you buy. For beginners, a standard Langstroth kit with two deep boxes and one or two honey supers is a solid baseline.
Placement matters more than hive style in a city. Choose a level spot with morning sun and afternoon shade in hot climates. The entrance should face southeast or east. Avoid low spots where cold air and moisture settle. Keep the hive away from shared walkways, clotheslines, and air conditioning units. A windbreak like a wall or hedge helps bees conserve energy. On a rooftop, secure the hive so it cannot blow over.
Create a flyway barrier at the entrance. A fence, hedge, or lattice screen about six feet tall forces bees to climb when they leave. This keeps their flight path above head height. If your yard is less than 10 by 10 feet, a single hive can still work. Just make sure you can stand behind or beside the hive during inspections. Standing in front of the entrance blocks returning foragers and gets you stung.
Provide a nearby water source. A shallow birdbath with floating corks or pebbles gives bees a landing spot. Refill it every few days. If bees discover a neighbor’s pool, it is hard to retrain them. You can also plant a small pollinator garden for bees nearby, but do not put flowers directly in front of the entrance. That creates congestion.

- Get gentle bees from a reliable source
Buy a nucleus colony, called a nuc, or a package of bees. A nuc includes five frames of drawn comb, brood, food, and a mated queen. A package is a box of bees with a caged queen and no drawn comb. Nucs build up faster and are usually less stressful for new beekeepers. This guide buying bees packages nucs and splits explains the differences in detail.
Choose a local supplier when you can. Local bees are adapted to your climate and disease pressures. Ask the supplier about varroa history and queen source. Italian and Carniolan stocks are generally gentle and productive. Russian bees can be more defensive, especially during nectar dearths. A package typically contains about 10,000 to 20,000 worker bees. A strong nuc may have 15,000 to 25,000 bees and will expand faster.
Order early because spring bees sell out by March in many regions. Pick up your bees on a day when you can install them immediately. Delayed pickup can cause overheating or starvation. If you cannot install right away, keep the package in a cool, dark place and mist the screen lightly with water. Do not store bees in a closed car on a hot day.
Inspect new bees for obvious signs of disease before installation. Look for deformed wings, excessive dead bees, or a queen that is missing. You can learn more in common bee diseases and pests guide. Buy from suppliers who follow state inspection guidelines. A healthy start saves months of trouble.
- Assemble gear and buy protective equipment
You need a veil or full suit, gloves, a hive tool, a smoker, and a feeder. A ventilated beekeeping jacket is enough for most calm urban hives. If you are nervous, a full suit adds protection. Compare beekeeping suit options or read this beekeeping tools and accessories guide. Gloves should be thick enough to stop stings but flexible enough to handle frames. Many urban keepers prefer nitrile gloves over leather.
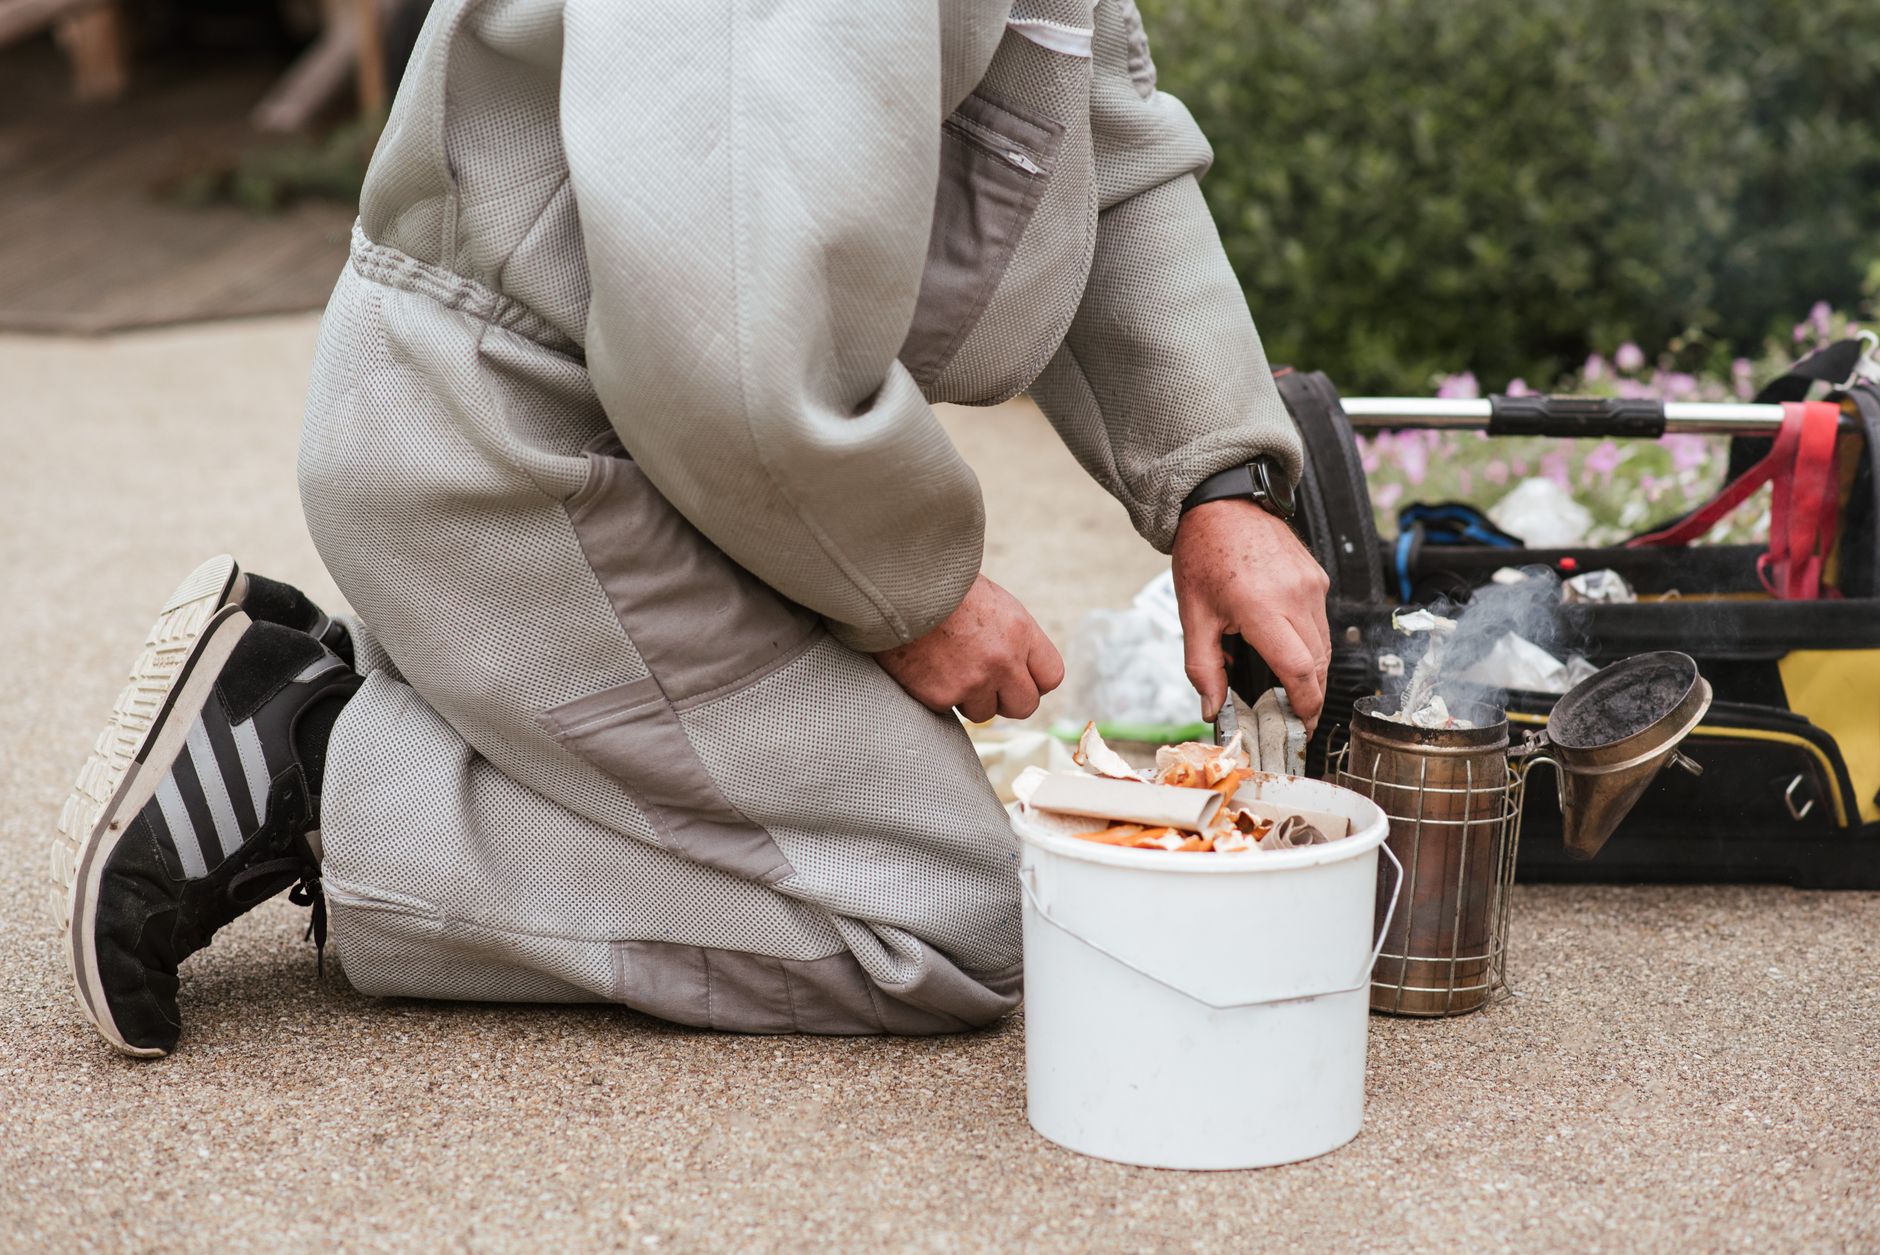
A stainless steel hive tool is essential for prying apart frames and boxes. Bees glue everything with propolis. Check the stainless steel hive tool on Amazon. A smoker helps calm the colony. Use pine needles, wood chips, or burlap as fuel. Keep a lighter or matches in your bee kit. A ventilated beekeeping jacket is worth the money in hot city summers.
Assemble the hive before the bees arrive. Paint the outside and let it air out for a few days. Frames with plastic foundation need a coat of beeswax, or bees may ignore them. Langstroth boxes have a specific orientation. The frames must hang parallel to the entrance. If the hive is not square, bees build wild comb. For starter kits, see best beehive starter kits 2026.
Set up a feeding station. New packages need 1:1 sugar syrup for several weeks. A hive top feeder or entrance feeder works. Entrance feeders are cheap but can encourage robbing. Hive top feeders are safer in dense neighborhoods. Keep a frame rest or a spare empty box nearby during inspections. You will need a place to set frames while you look for the queen.
- Install the bees and feed them correctly
Installing a package takes about 20 minutes. Wear your veil and light the smoker. Remove the feeder can and the queen cage. Check that the queen is alive. Hang the queen cage between two frames using the provided strap or a small nail. Then gently shake the package bees into the hive. Do not bang the box too hard. You will have bees flying, but they usually settle down quickly.
For a nuc, the process is easier. Remove the frames one by one and place them in the same order in your hive. Be careful not to roll the queen. Add empty frames to fill the box. This full guide to starting your first honey beehive shows both methods step by step. The colony already has brood and stores, so it accepts the new hive almost instantly.
Feed new packages 1:1 sugar syrup by weight. One pound of white sugar to one pound of water works well. Do not use brown sugar, molasses, or honey from unknown sources. They can carry disease spores. Keep the feeder full for about two weeks or until the bees stop taking syrup. Once fresh nectar is flowing, you can reduce feeding. Feeding also stimulates wax production.
Reduce the entrance to the smallest opening for the first week. This helps a small colony defend against robbing bees and wasps. Check the queen cage after three days. If the candy plug is gone and the workers are calm, the queen likely released. If not, remove the cage carefully. You can learn more in how to introduce a new queen. After one week, look for eggs. Eggs mean the queen is laying.
- Inspect the colony every 7 to 10 days
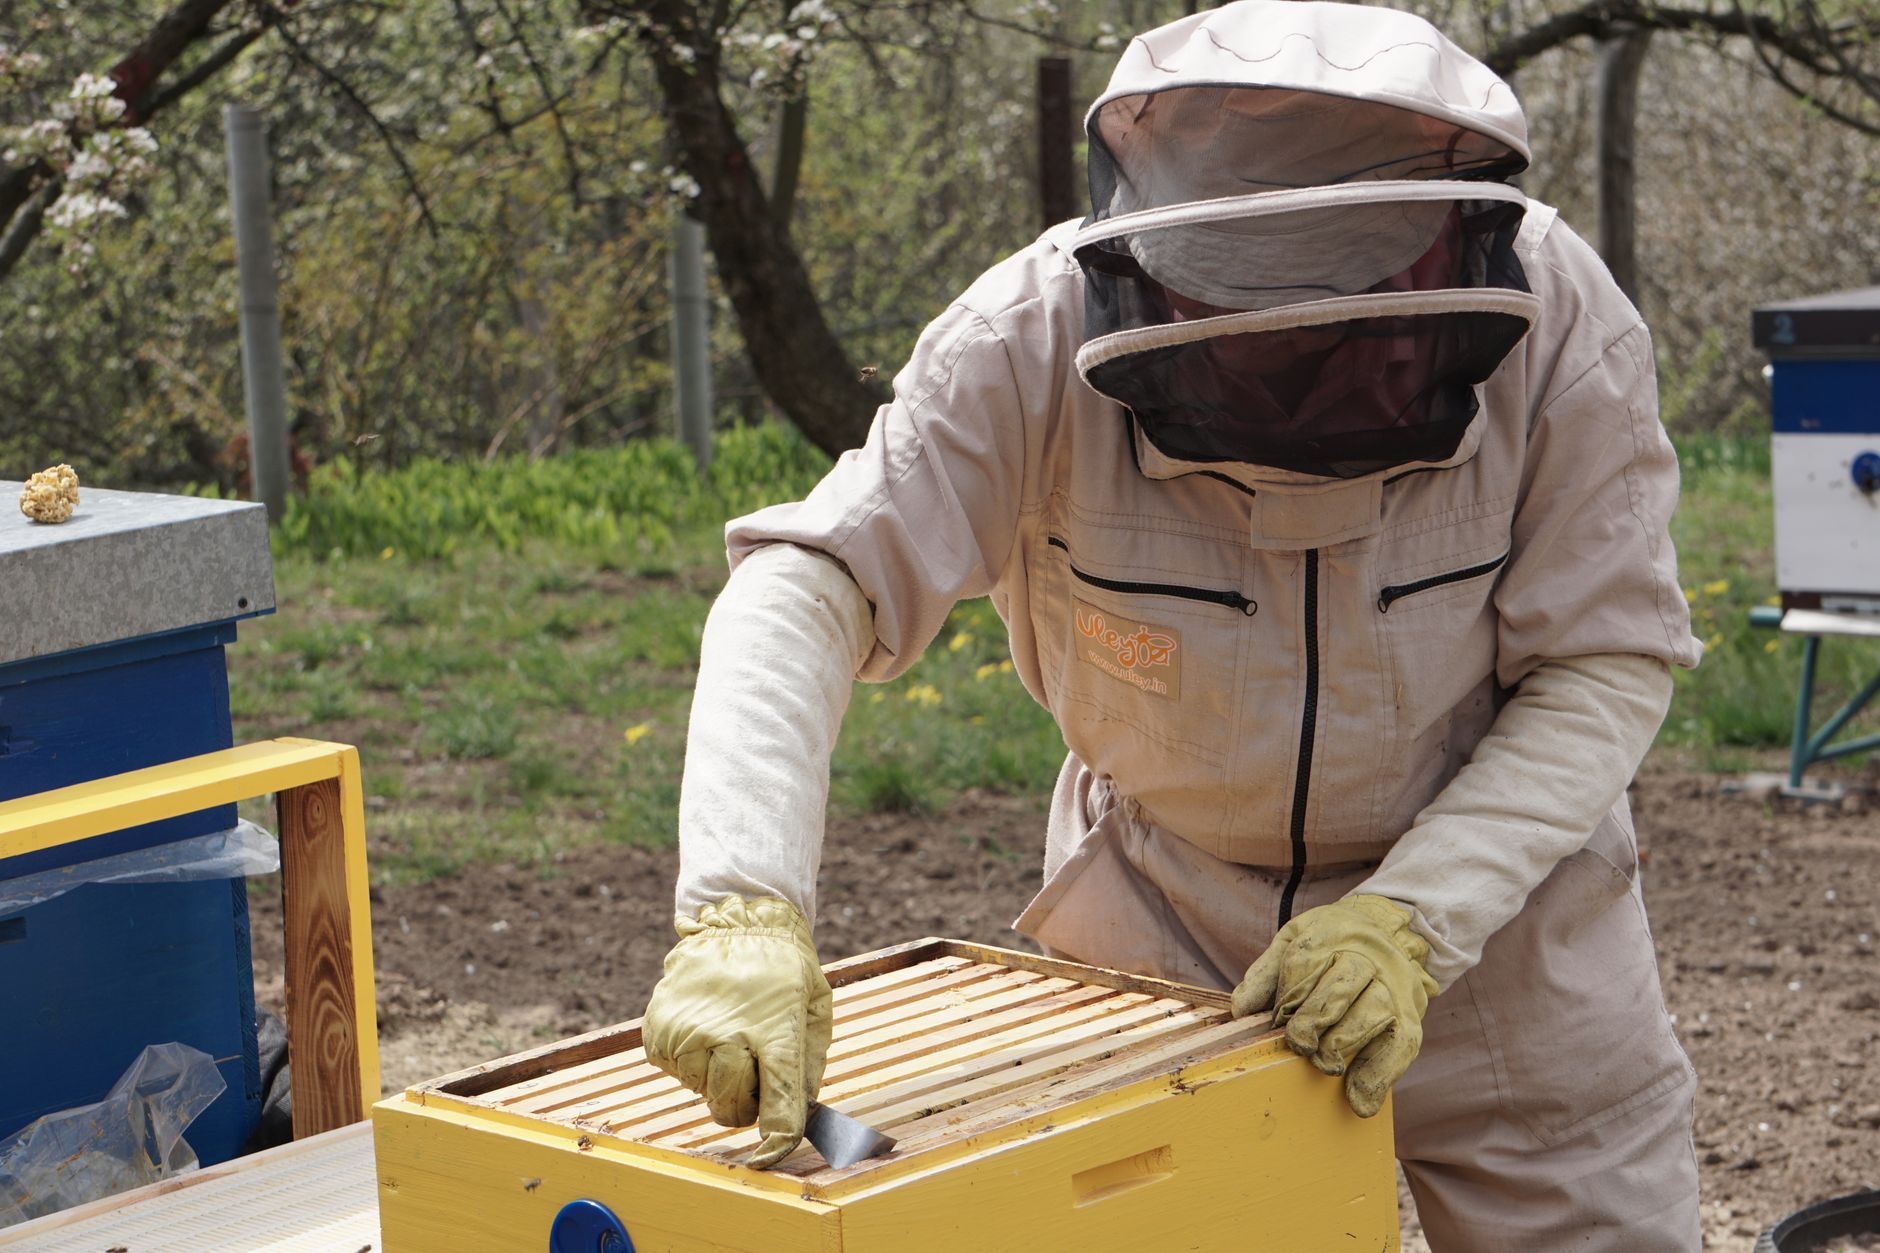
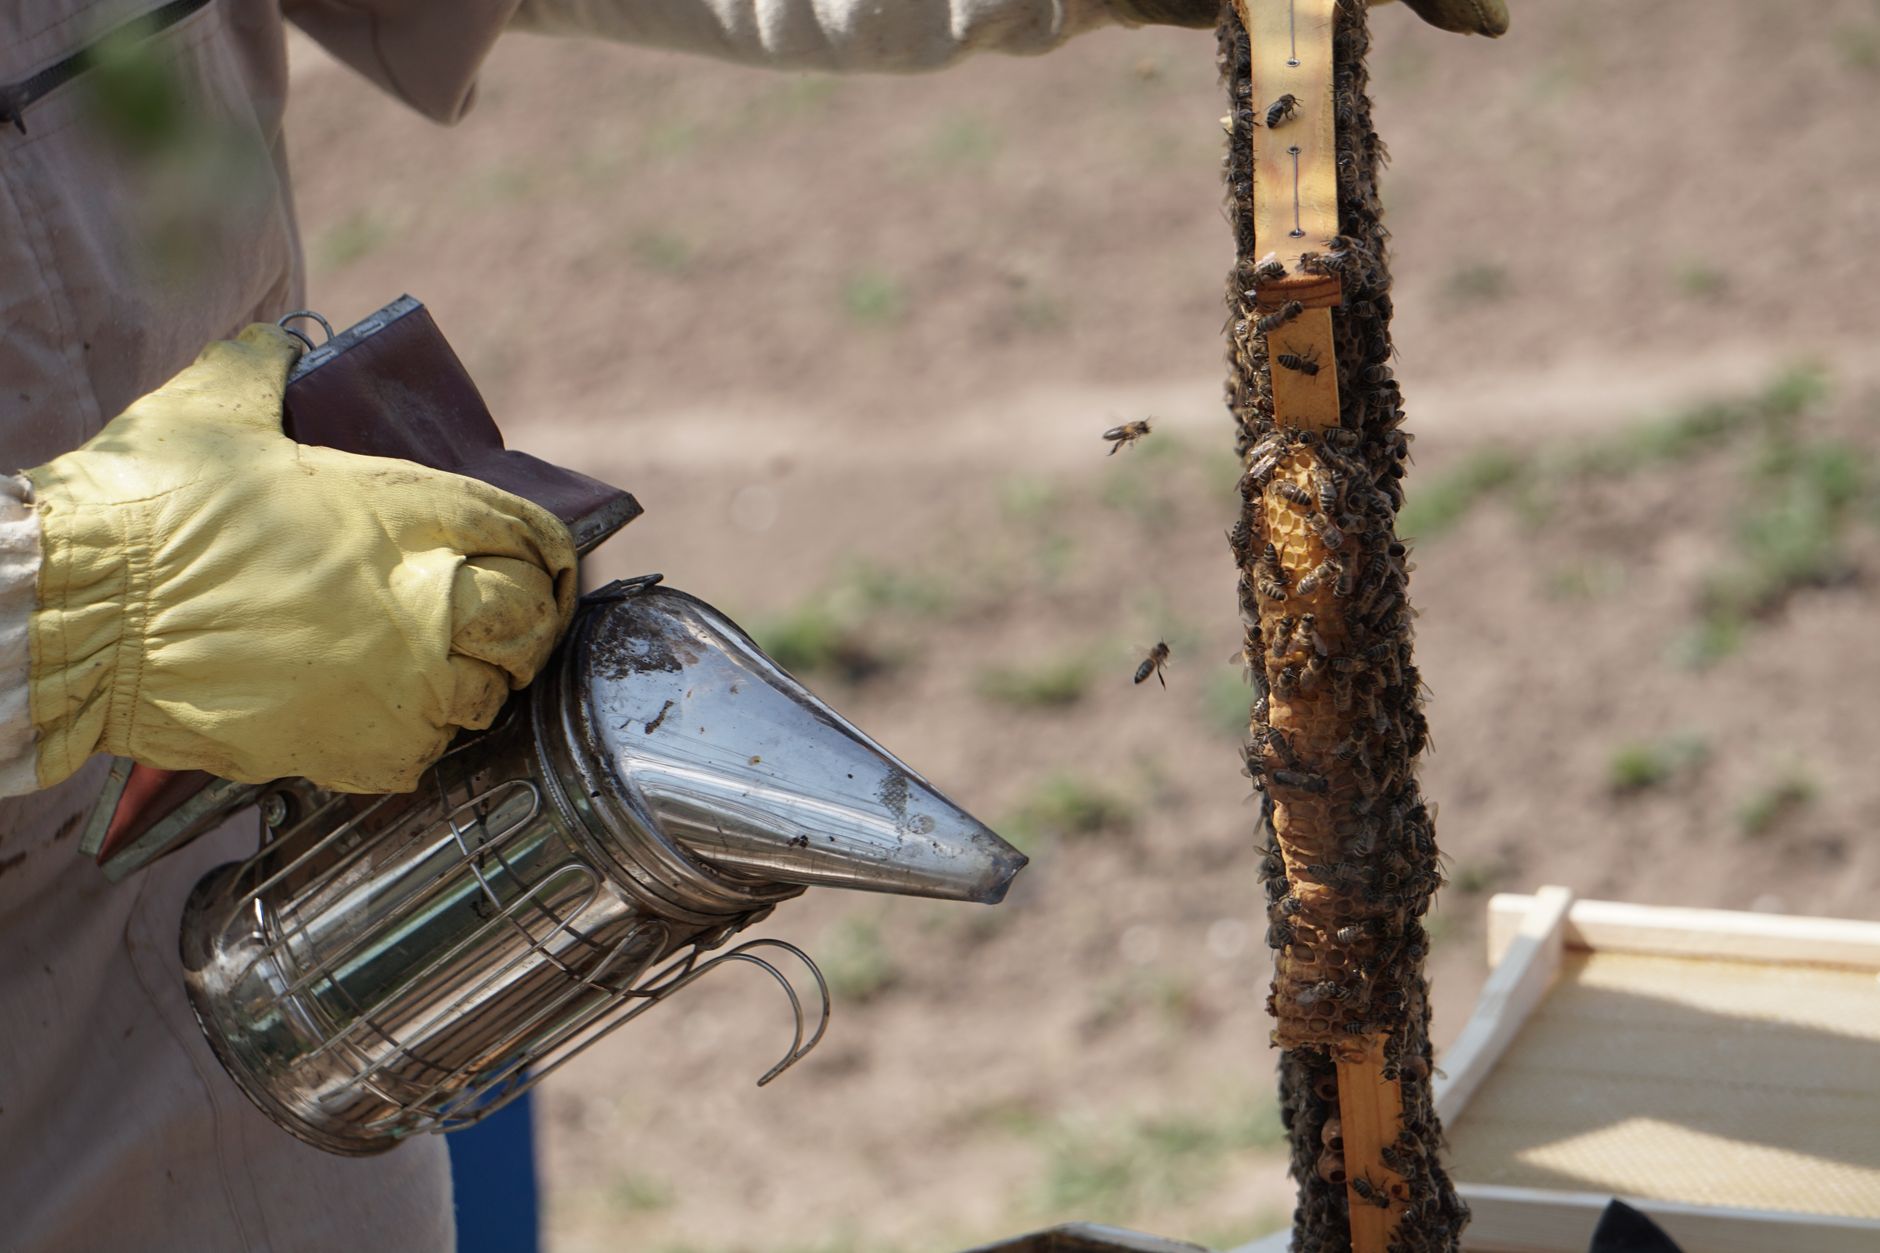
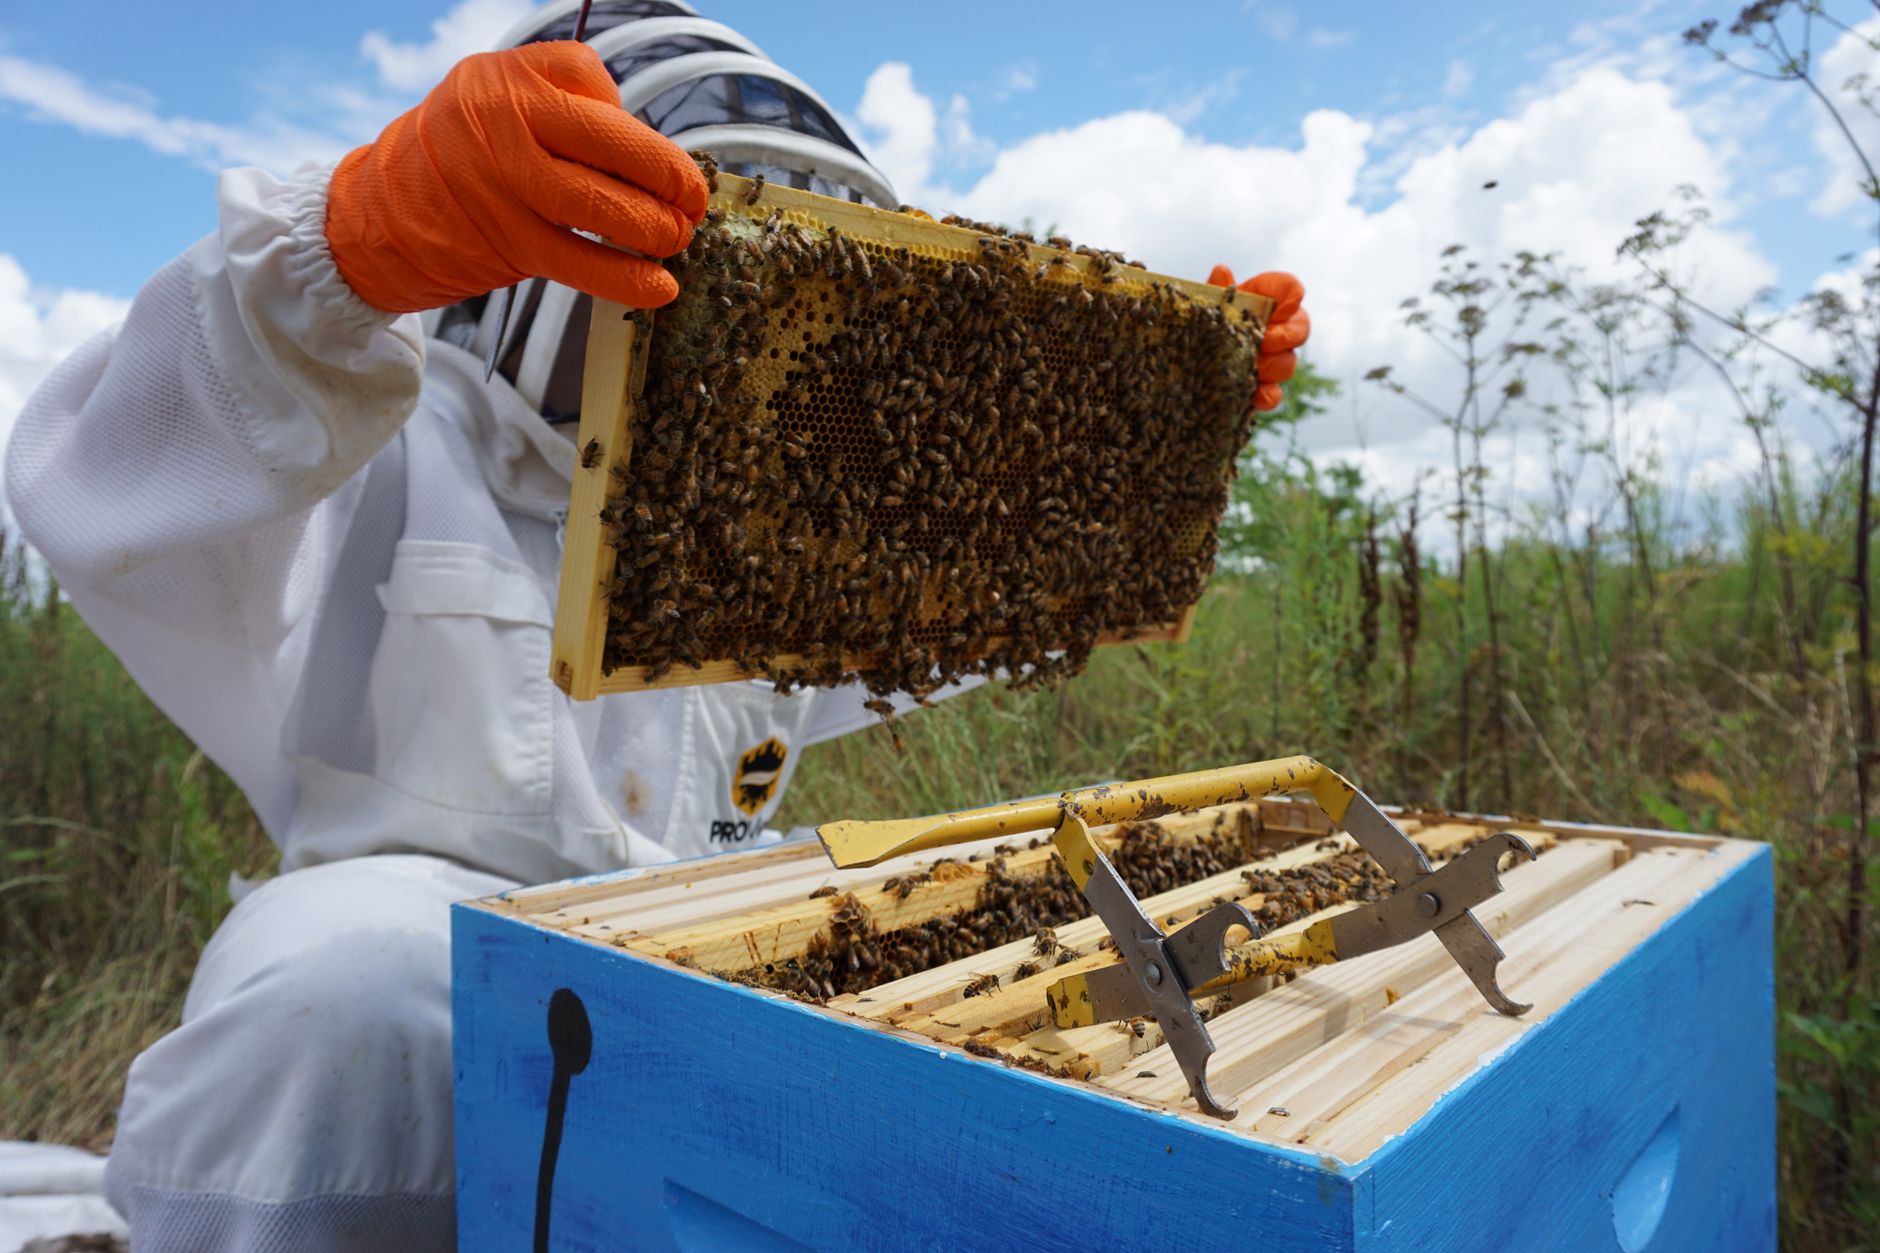
Regular inspections catch problems before the colony fails. Inspect every 7 to 10 days during the active season. Do not inspect in cold, rainy, or windy weather. Use about two or three puffs of smoke at the entrance. Wait 30 seconds. Then open the hive. A full hive inspection guide explains the technique. Keep inspections under 20 minutes to reduce stress.
Look for the queen, eggs, larvae, capped brood, honey, and pollen. You do not need to find the queen every time. If you see eggs, she was there within the last three days. A solid brood pattern with few empty cells is a good sign. Shotgun brood patterns can indicate a failing queen or disease. Use this queen bee identification guide to train your eye.
Check for queen cells, especially swarm cells along the bottom of frames. A crowded urban hive can swarm in late spring. If you see swarm cells, consider a split. The bee swarm guide covers what to do. In a small backyard, a swarm can alarm neighbors. Prevention is better than chasing bees across a fence.
Take notes after each inspection. Write down the queen sighting, brood pattern, stores, temperament, and mite counts. Trend data helps you decide when to add a super or treat for pests. Your notes also help a mentor or local club diagnose problems. Keep a camera or phone nearby for reference photos. Date every frame photo.
- Test for varroa mites and other city stressors
Varroa mites are the number one killer of honey bees. A colony can look strong and still carry thousands of mites. Test monthly during the warm season with a sugar roll or alcohol wash. Many extension services recommend treating when varroa counts exceed 2 to 3 mites per 100 bees. Read the varroa mite treatment guide for testing methods. Uncontrolled mites can kill a colony within one to two years.
Use registered miticides only. Follow the label exactly. Treatments like oxalic acid, formic acid, and thymol have different temperature windows. Rotate active ingredients to slow resistance. The United States Department of Agriculture Agricultural Research Service publishes current best management practices for varroa control. Do not use homemade mixtures you found on social media. They can contaminate wax and harm the brood.
Small hive beetles and wax moths are also common. They thrive in weak colonies. Keep your hive strong and reduce empty frames. Learn the signs in common bee diseases and pests guide. Wax moth larvae leave webbing in comb. This wax moth prevention and treatment article shows how to protect stored equipment.
City stressors include heat, limited forage, and pesticide exposure. Provide shade during heat waves. Keep the water source full. Do not spray insecticides on nearby plants. Talk to neighbors about avoiding blooms when bees are foraging. If a nearby property is being treated, close the hive entrance with screen mesh the night before. Open it after the pesticide has dried.
- Harvest honey and winterize without harming the colony
Harvest honey only from frames that are at least 80 percent capped. Pulling uncapped honey can ferment later. In a good urban year, one healthy hive may produce 25 to 60 pounds of surplus honey. The how much honey does one hive produce article explains what affects yield. First year hives usually produce less because the bees need to draw comb.
Use an escape board or a bee brush to remove bees from honey supers. Then extract in a clean kitchen or dedicated space. A manual extractor works for a few hives. Compare honey extraction equipment guide or best honey extractors 2026 before buying. If you have only one or two supers, the crush and strain method is cheap and effective.
Leave enough honey for winter. In cold climates, a hive needs 60 to 80 pounds of stored honey. In mild cities, 40 to 60 pounds may be enough. Do not harvest from brood boxes unless you know they have extra. Learn the full harvest process in how to harvest honey first time. Robbing the colony too late in the season forces heavy feeding in fall.
Winterize after the fall nectar flow stops. Reduce the entrance, add a mouse guard, and provide ventilation to prevent condensation. Insulate only if your region drops below freezing for weeks. The guide how to winterize beehives covers cold climate steps. Keep feeding until the bees stop taking syrup or the weather turns cold.
Red Flags & Warnings
- 🚨 Never install bees before checking local laws. You may face fines and be forced to remove the hive.
- 🚨 Do not point the hive entrance at a sidewalk, patio, or shared fence. Bees leaving the entrance can fly into people’s faces.
- 🚨 Always wear at least a veil when opening the hive. Even calm bees can sting near the eyes and cause serious injury.
- 🚨 Do not spray garden pesticides near the hive. Common insecticides can weaken bees and kill brood for days.
- 🚨 Never treat varroa without testing first. Blind treatment wastes money and may fail while mites continue to multiply.
- 🚨 Do not harvest honey that the bees made from sugar syrup. That is not true honey and it may ferment on the shelf.
Frequently Asked Questions
Are bees allowed in most cities?
Many cities allow bees, but you often need a permit or registration. Check municipal codes and HOA rules before buying equipment. Some areas limit hive numbers or require a setback from property lines.
How much space does an urban beehive need?
A single Langstroth hive can fit in a 10 by 10 foot area. The key is providing a clear upward flight path and enough room to stand behind the hive during inspections.
Will city bees bother my neighbors?
Usually not. Place the entrance away from patios and sidewalks. Add a fence or hedge at least six feet tall so bees climb above head height. Provide water so they do not gather at pools.
How much honey can one city hive produce?
In a good year, one healthy hive can produce 25 to 60 pounds of surplus honey. First year hives often produce less because the colony must draw new comb.
Do I need to test for varroa in an urban hive?
Yes. Test monthly in warm months with a sugar roll or alcohol wash. Treat when varroa counts exceed 2 to 3 mites per 100 bees.
Can I keep bees on an apartment balcony?
You can if your building allows it and the balcony is strong enough. Place the hive near the railing with the entrance facing outward. Provide a windbreak and secure the hive against tipping.
What Should You Remember?
- Check local rules: Verify city code and HOA before buying bees.
- Place the hive smartly: Morning sun, level ground, water source, flyway barrier.
- Choose gentle stock: Local nucs or packages with Italian or Carniolan queens reduce defensive behavior.
- Inspect every 7-10 days: Look for eggs, brood pattern, and varroa mites.
- Manage pests proactively: Test for varroa monthly and use registered treatments as needed.
- Harvest responsibly: Leave enough honey for winter and only extract capped frames.
- Talk to neighbors: A small honey gift can turn potential complaints into support.
This article is for general information only and is not veterinary or legal advice. Beekeeping is regulated in most regions and involves live animals with their own health needs , always follow local regulations and best practices, and consult a qualified apiarist, extension service, or veterinarian for bee-health or disease concerns.