Wax moths are one of the most damaging pests in stored bee equipment. They can destroy drawn comb, honey supers, and even weak hives in a short time. Many new beekeepers see the webbing and think a disease took over. In truth, wax moths usually move in after another problem weakens the colony. This guide explains how to prevent wax moths, treat active infestations, and store equipment safely. For a broader look at bee pests, see our common bee diseases and pests guide. It covers prevention and treatment steps in detail.
Two species cause most wax moth problems: the greater wax moth (Galleria mellonella) and the lesser wax moth (Achroia grisella). Adult females lay hundreds of eggs near beeswax. A single female can lay 300 to 600 eggs in her short life. The larvae then tunnel through comb and spin silk. Strong honey bee colonies normally remove these pests. Weak, queenless, or starving colonies often cannot. Data from the Bee Informed Partnership shows annual colony losses above 40% in several recent years. Those losses create conditions where wax moths multiply fast.
The good news is that prevention works. You do not need harsh chemicals in most cases. Freezing frames, keeping strong colonies, and storing equipment with good airflow solve most problems. Still, active infestations require quick action. In this article, you will learn step by step how to prevent damage and clean up after an infestation. These methods work best when you use them together with routine inspections. Each step includes specific advice from extension services and beekeeping organizations.
Before you start, understand that wax moths are a symptom more than a primary cause. They usually attack colonies that are already stressed by mites, queen loss, or poor nutrition. This matters because treatment alone will not solve the problem. You must manage colony health, hive space, and storage practices together. Many beekeepers use an integrated approach with mechanical, cultural, and biological controls. That approach reduces the need for chemical treatments and protects your equipment year after year.
What You’ll Need
- hive tool
- flashlight
- chest freezer
- storage racks or pallets
- B.t. product for wax moths
- wax moth trap
- plastic bags or wrap
How Do You Prevent and Treat Wax Moths in Hives and Stored Equipment?
- Know the Wax Moth Life Cycle and Early Warning Signs
Wax moths do not usually kill healthy colonies. The greater wax moth (Galleria mellonella) and the lesser wax moth (Achroia grisella) are the two species beekeepers encounter most. Adult females lay eggs near beeswax, pollen, or dark cracks in the hive. A single female can lay 300 to 600 eggs in her short life. Those eggs hatch into larvae that tunnel through comb. This data point shows how quickly damage can appear. Learning the life cycle helps you target the larval stage, which is the most destructive. A good inspection routine is your first defense. See how to do a hive inspection for a complete method.
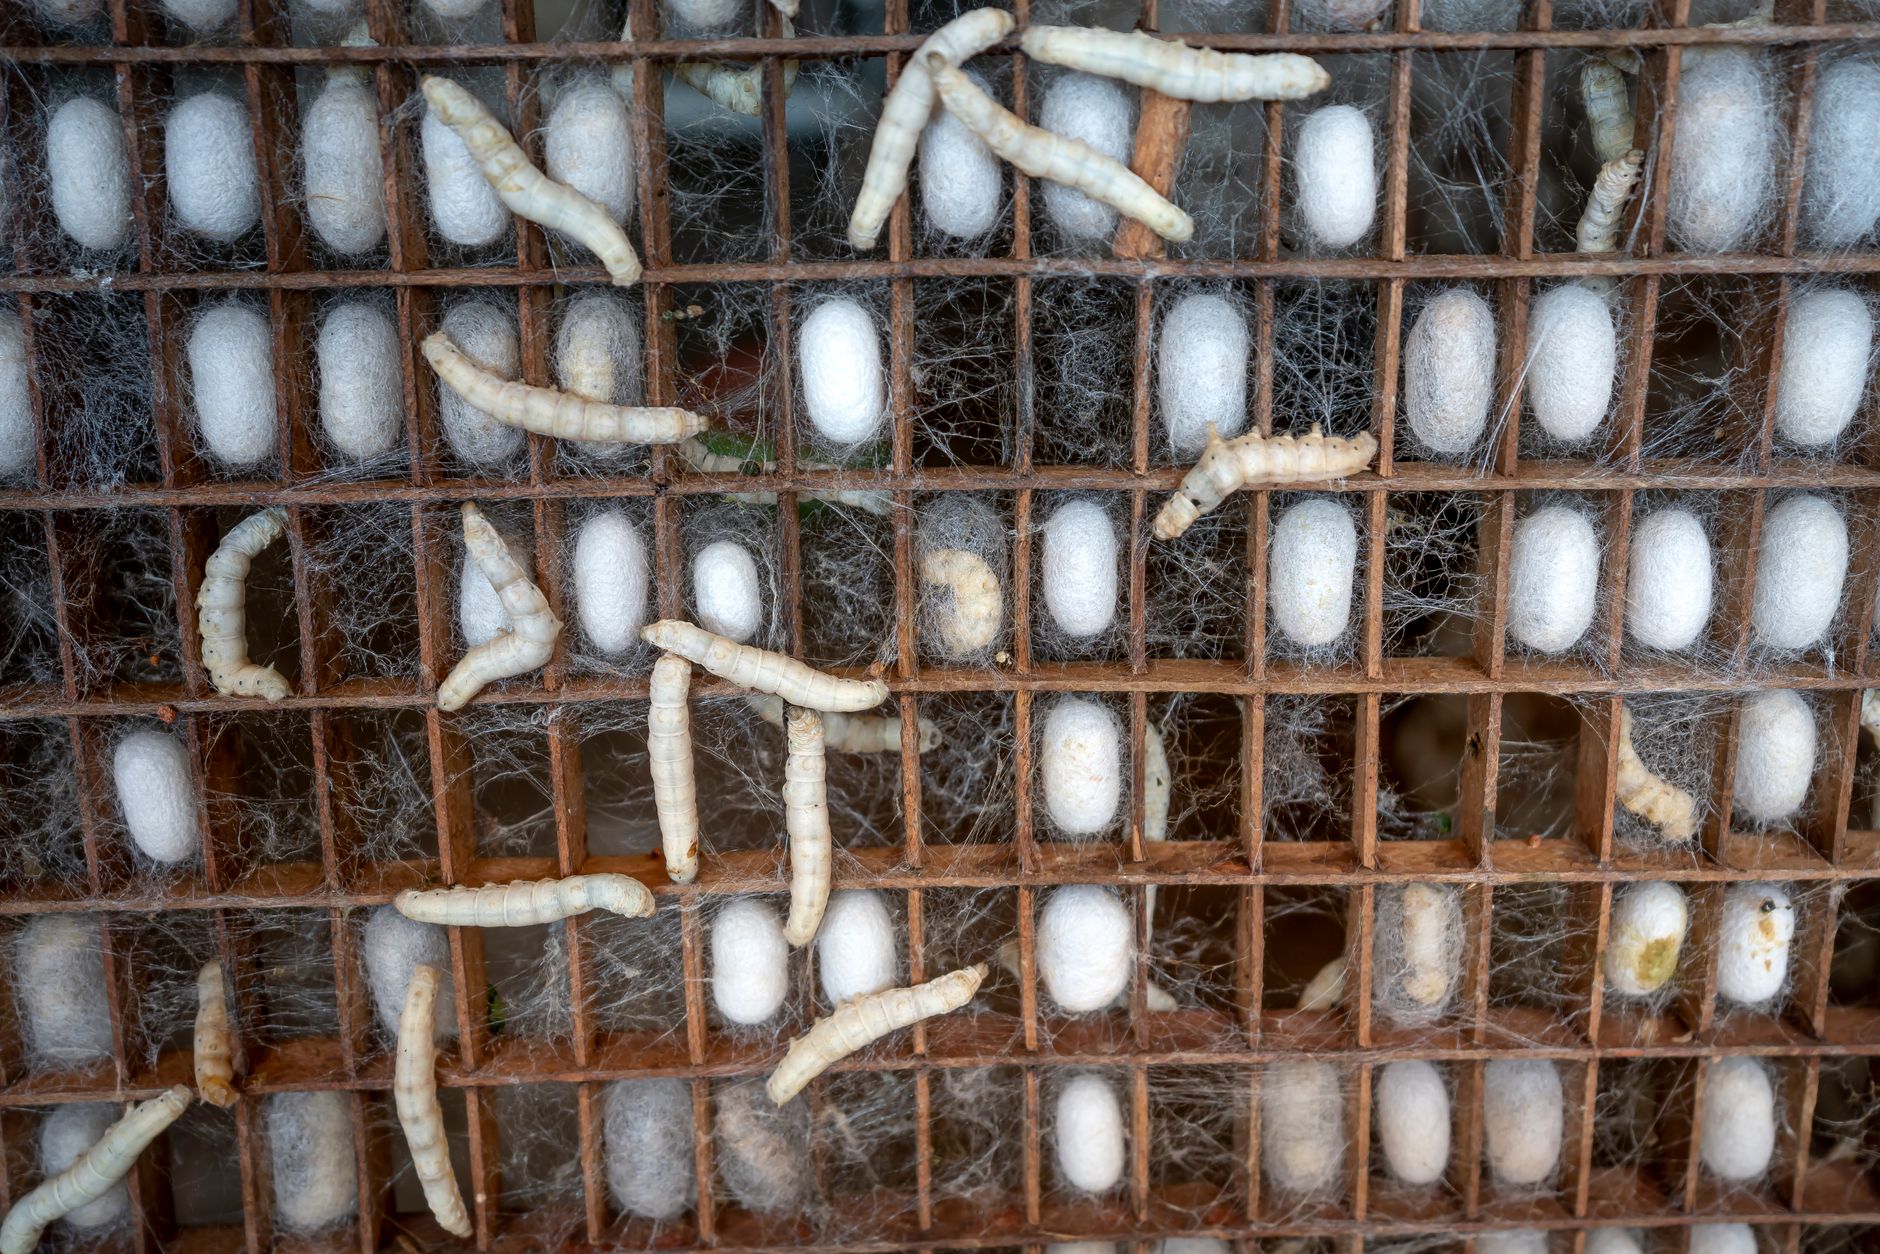
Larvae eat wax, pollen, cocoons, and sometimes bee brood. As they crawl, they spin silk threads. The silk traps bee feces and wax debris. You may see a web-like trail across comb surfaces. In severe cases, larvae can destroy drawn comb in two to three weeks. By the time you see adult moths flying near stored equipment, the damage is already underway. Adult moths do not eat comb. Their job is to reproduce and lay more eggs. Killing adults alone will not stop an infestation.
Early signs include small gray or brown moths near the hive entrance, webbed comb, cocoons along frame edges, and frass on the bottom board. Frass looks like dark grit or sawdust. You might also notice tunnels under cappings. Regular inspection is critical. When a colony is queenless or weak, wax moth damage accelerates. The damage itself can make the colony weaker still. Use an inspection light to check the corners and bottom board. These are the places many beekeepers miss.
Understanding this life cycle matters because most treatments target the larval stage. Eggs and adults are hard to kill without chemicals. Freezing and cold storage work on all life stages. That is why physical control is so effective. Biological controls like Bacillus thuringiensis target feeding larvae. If you miss the larvae, you miss the main destructive stage. Look for the first signs of webbing before the problem spreads through the entire comb.
- Keep Colonies Strong and Queenright at All Times
Strong colonies are the best defense against wax moths. Worker bees patrol the comb and remove or kill moth larvae and eggs. When a colony has a healthy queen, plenty of workers, and adequate food, wax moths rarely gain a foothold. The bees themselves regulate the hive interior. This is why wax moth damage often points to an underlying problem. You should first ask why the colony is weak. It may be queenless, starving, or heavily infested with varroa mites.
Varroa mite pressure weakens colonies and opens the door for wax moths. If you are not managing mites, your wax moth problem will likely return. See our varroa mite treatment guide for a full plan. A colony that is fighting high mite loads has fewer healthy adult bees. Fewer bees means less grooming and less comb defense. The moths take advantage of that gap. Keep mite counts low and monitor regularly.
Keep broodnest space appropriate for the bee population. Too much empty comb gives moths more surface area. Too little space can trigger swarming. Use a double deep or a deep plus medium as the population grows. When a colony loses a queen, requeen quickly or combine it with a stronger colony. Do not leave a small cluster on large amounts of drawn comb for long. That is an invitation for wax moths. A tight broodnest is easier for bees to patrol.
Keep bees well fed during dearth and before winter. Hungry colonies shrink. Shrinking colonies cannot patrol stored comb. Feeding is not a direct wax moth treatment but it is a powerful prevention method. Check the colony population every inspection. If you see fewer bees than comb they can cover, reduce space or combine hives. This step prevents damage before it starts. Strong bees remain your best long-term protection against wax moths.
- Reduce Excess Comb and Remove Unprotected Frames
Beekeepers often give bees too much room. A strong hive may fill a lot of comb, but a weak or average hive cannot cover every frame. Uncovered frames are vulnerable. Remove empty supers and undrawn frames when not needed. Extra boxes create dark corners where moths can lay eggs. The same is true for stored equipment. Keep only the comb your bees can defend.
When you extract honey, do not leave wet supers sitting around. Honey residue and wax attract wax moths. Extract supers promptly and return them to strong hives for cleaning. If you use an extractor, see our honey extraction equipment guide for equipment details. Wet frames can also drip and attract ants. Let bees clean wet supers outside the hive only if there is no robbing pressure. Otherwise return them to a strong colony on top of the inner cover.
Remove old, black brood comb from the brood nest. Old comb contains layers of cocoons and debris. It holds more wax moth food. Recycle it or melt it down. Replacing old comb also reduces other pathogens. Do not store old brood comb unless you freeze it first and plan to use it for swarm traps or bait. Some beekeepers save a few old frames for trap hives. That is fine if the frames are kept sealed and cool.
The goal is simple. Less exposed wax equals fewer wax moths. This practice alone reduces the need for chemical treatments. It also saves you time later. Regular fall cleanup sets the stage for safe winter storage. Make this part of your seasonal routine. Use a good hive tool and bee brush to handle frames. Read our beekeeping tools and accessories guide for the gear that makes this work easier.
- Inspect Hives and Stored Equipment on a Schedule
Inspections catch wax moth damage before it spreads. During active season, inspect brood boxes every 7 to 10 days. Check for webbing, larvae, eggs, adult moths, and frass. Pay attention to the bottom board and corners. Wax moths like those dark gaps. Use your hive tool to lift frames and a flashlight to see inside. The inspection method in step one covers the full process. Stored equipment needs the same regular attention.
Stored supers cannot be ignored. At least once a month, open the storage area and check for adult moths, webbing, or frass. Adult moths flying in your garage or shed is a sign you have active larvae somewhere. Do not wait until spring. Inspect stored equipment in late summer, again in mid fall, and once more before spring setup. If you see damage, remove the affected frames and freeze them immediately. This quick action prevents one infested box from ruining an entire stack.
Keep a simple record. Write down which boxes were stored, the date, and any signs found. This helps you spot repeat problems. If the same stack gets infested every year, change the storage location or method. Good record keeping also supports your broader pest management plan. You will know which hives produced weak frames and which storage spots need more airflow.
Look at the outside of stored stacks too. Webbing near seams or lids is a dead giveaway. Mouse damage can create openings that let moths enter. Seal openings with tape or replace damaged boxes. If boxes are stacked outside, keep them off the ground and covered. Check them after heavy rain and after warm spells. Moths become active when temperatures rise above 50°F. That is a good time to inspect more often.
- Freeze Frames and Wax Comb Before Storage
Freezing is the most reliable physical control for wax moths. It kills eggs, larvae, pupae, and adult moths without chemicals. The American Beekeeping Federation and university extension services recommend freezing as a standard method. Place frames in a chest freezer at 20°F (-6°C) or lower for at least 48 hours. A longer period is fine. If your freezer cannot reach 20°F, extend the time to 72 hours or longer. This ensures the cold penetrates all parts of the comb.
This method is safe for comb, woodenware, and most plastic foundation. It does not leave chemical residues. After freezing, let the frames come to room temperature. Keep them in sealed plastic bags or airtight containers as they thaw. This prevents condensation from making the comb wet and attracting more pests. Do not freeze honey supers that still contain liquid honey if you plan to extract later. The honey may crystallize or become hard to remove. Freeze after extraction or before.
Some beekeepers rotate supers through the freezer during the active season. If you pull a super off a hive and cannot extract immediately, freeze it for a few days. Then store it. This kills any wax moth eggs that adult moths laid during the time the super was off the hive. It is a good practice for any drawn comb that will sit for more than two weeks. For broader winter preparation, see how to winterize beehives. Cold storage is one part of that bigger plan.
After freezing, transport frames to storage immediately. Do not let them sit in a warm room. Moths can lay eggs again. Bagging or wrapping frames after freezing provides a barrier. Use plastic sheeting or large bags. This step connects directly to the next one because storage conditions determine whether your frozen frames stay clean. If you place frozen, dry comb in a dark, warm closet, moths will return.

- Store Empty Supers and Frames in the Right Environment
Wax moths thrive in warm, dark, still air. Your stored equipment should be cool, dry, and exposed to light and airflow. A shed with open sides, a screened porch, or a garage with good ventilation works. Direct sunlight helps too. Light does not kill larvae by itself, but it discourages adult moths from entering. Good airflow keeps humidity low. Dry comb is far less attractive to wax moths than damp comb.
Stack boxes so air can move between them. Use spacers between boxes or stack them crosswise. Do not stack boxes tight against a wall. If you have a screen bottom board or a screen top, use it. Screen bottom boards also help in hive inspection, but here they let air flow. Keep supers off the floor with pallets or blocks. Check that no roof leaks or condensation forms.
If you live in a humid area, add a fan to the storage room. Cardboard boxes are poor choices for drawn comb. They hold moisture and provide hiding spots. Use plastic bins only if the frames are completely dry and sealed. Airtight bins can trap moisture and cause mold. The best solution is open shelving with air movement. Light from a window or lamp also helps keep adult moths away.
For storage over winter, cold is your friend. Unheated spaces are better than heated rooms. In cold climates, winter temperatures may kill some pests but do not rely on that. A freeze-thaw cycle can help. If you can leave supers outside in freezing conditions, that is fine before deep winter. The key is to keep them dry. Snow and rain can ruin woodenware. Cover with a roof or tarp that still allows air flow.
- Use Approved Biological and Chemical Controls as Backup
Physical and cultural controls solve most wax moth problems. Still, some beekeepers need extra protection for large amounts of stored drawn comb. One effective biological option is Bacillus thuringiensis (B.t.), specifically the subtype kurstaki or aizawai. Products marketed for wax moth control, such as B401, are available. These bacteria produce a toxin that kills wax moth larvae after they eat treated comb. They are not harmful to bees when used as directed. Many university extension offices have published guidance on B.t. use for stored equipment.
To use a B.t. product, mix it according to the label. Apply it to drawn comb before storing. The label will tell you the dilution rate and coverage. Treated comb should be allowed to dry before stacking. One application usually protects stored comb for the storage season. Reapply if you wash frames or if the storage period extends more than a full year. The USDA Agricultural Research Service has studied biological controls for wax moths and supports targeted use over broad chemical treatments. Here is the USDA ARS site.
Chemical controls exist but come with major restrictions. Para-dichlorobenzene (PDB) crystals were once common. They kill adult and larval moths in stored equipment. But PDB is not approved for use on honey supers that may hold honey for human consumption. It can leave residues and harm bees. Never use naphthalene mothballs in bee equipment. They are highly toxic to bees and can contaminate wax and wood. The American Beekeeping Federation has warned against household mothballs. Use only products labeled for empty bee equipment. If in doubt, choose freezing and B.t. instead.
Another non-chemical backup is a wax moth trap. These traps use a pheromone or bait to attract adult moths. They do not control existing larvae but can monitor and reduce adult populations. Check the wax moth trap on Amazon. The trap helps you know when moths are active in your storage area. Place traps near stored equipment and replace lures as directed. This monitoring step makes your prevention plan even stronger.
- Treat Active Infestations Without Harming Your Hive
If you find webbing, larvae, or cocoons in a hive, act fast. First, assess the colony. Is it queenright? How many frames of bees? If the colony is very small and badly infested, it may not be worth saving. Sometimes the best move is to combine it with a stronger colony and destroy or freeze the infested equipment. If the colony is worth saving, remove infested frames and replace them with clean drawn comb or foundation.
Never use household bug sprays or mothballs inside a hive. Those chemicals kill bees and contaminate wax. For a light infestation in a strong colony, you can simply scrape away webbing and larvae with a hive tool. Bees will usually clean up the rest. Reduce the hive entrance and keep the colony strong. Check again in three to five days. If you see more webbing, the colony is still too weak to defend itself. Reduce space further.
For severe infestations in stored equipment, remove all frames and brush off webbing. Then freeze the frames for 48 hours. After freezing, clean the boxes with hot water and bleach solution, or scrape them thoroughly. Let boxes dry fully. Beeswax with heavy damage should be rendered or discarded. Do not try to save comb that is mostly silk and frass. It is not worth the risk.
If you treat a hive that had wax moths, address the cause too. Check for varroa mites, queen failure, starvation, or disease. This is the only way to prevent a repeat. Use our common bee diseases and pests guide for more help on related threats. A one-time cleanout without fixing the root cause will fail. Strong bees are your permanent solution.
Red Flags & Warnings
- 🚨 Never use naphthalene mothballs on bee equipment. They are toxic to bees and can contaminate wax and honey.
- 🚨 Do not treat honey supers with PDB or any unlabeled chemical. Residues can end up in honey for human consumption.
- 🚨 Do not ignore a weak colony while treating wax moths. The colony’s weakness is the real problem.
- 🚨 Freeze frames for at least 48 hours at 20°F or lower. Warmer temperatures or shorter times may not kill all stages.
- 🚨 Do not store wet drawn comb in sealed plastic bins. Trapped moisture encourages mold and secondary pests.
- 🚨 If an infestation is severe, burn or render badly damaged comb. Reusing it risks spreading wax moths and disease.
Frequently Asked Questions
Are wax moths dangerous to bees?
Wax moths do not usually attack strong, healthy colonies but they can finish off a weak or queenless hive. The larvae feed on wax, pollen, and brood remnants and leave webbing that traps adult bees. In a strong colony, worker bees remove most moth eggs and larvae.
How long do I need to freeze frames to kill wax moths?
Freeze frames at 20°F or lower for at least 48 hours. If your freezer is warmer or frames are stacked tightly, extend the time to 72 hours or more. All life stages, including eggs, can be killed this way.
Can I use mothballs in stored supers?
Do not use household mothballs. They contain naphthalene, which is highly toxic to bees and can contaminate wax. Only use products specifically labeled for use in empty bee equipment. Even then, chemical options like PDB have restrictions.
What is the best storage method for drawn comb?
Store drawn comb in a cool, dry, and well-ventilated area with light and airflow. Freeze frames first for 48 hours, then stack boxes on pallets with spacers. Avoid sealed plastic bins unless frames are completely dry.
How do I know if wax moths are the main problem or a symptom?
Look at the colony’s bee population and queen status. If the hive has few bees, no queen, or heavy varroa mites, wax moth damage is usually secondary. Address those issues and reduce hive space before focusing solely on wax moths.
Can wax moth traps eliminate an infestation?
Wax moth traps catch adult male moths and help monitor pest pressure, but they do not kill larvae already in comb. Use them with freezing, good storage, and strong colonies. They work best as a monitoring and population reduction tool.
What Should You Remember?
- Strong colonies: Keep bees healthy and queenright. They are the best defense against wax moths.
- Freeze frames: 48 hours at 20°F or lower kills all wax moth life stages.
- Reduce space: Remove excess supers and unprotected drawn comb from weak hives.
- Store smart: Cool, dry, ventilated spaces with light and airflow deter wax moths.
- Use B.t.: Apply Bacillus thuringiensis products as a biological control for stored comb.
- Inspect often: Check hives and stored equipment monthly for webbing, frass, and adult moths.
- Fix the root cause: Wax moths are a sign of weak colonies, queen failure, or mite stress.
This article is for general information only and is not veterinary or legal advice. Beekeeping is regulated in most regions and involves live animals with their own health needs , always follow local regulations and best practices, and consult a qualified apiarist, extension service, or veterinarian for bee-health or disease concerns.